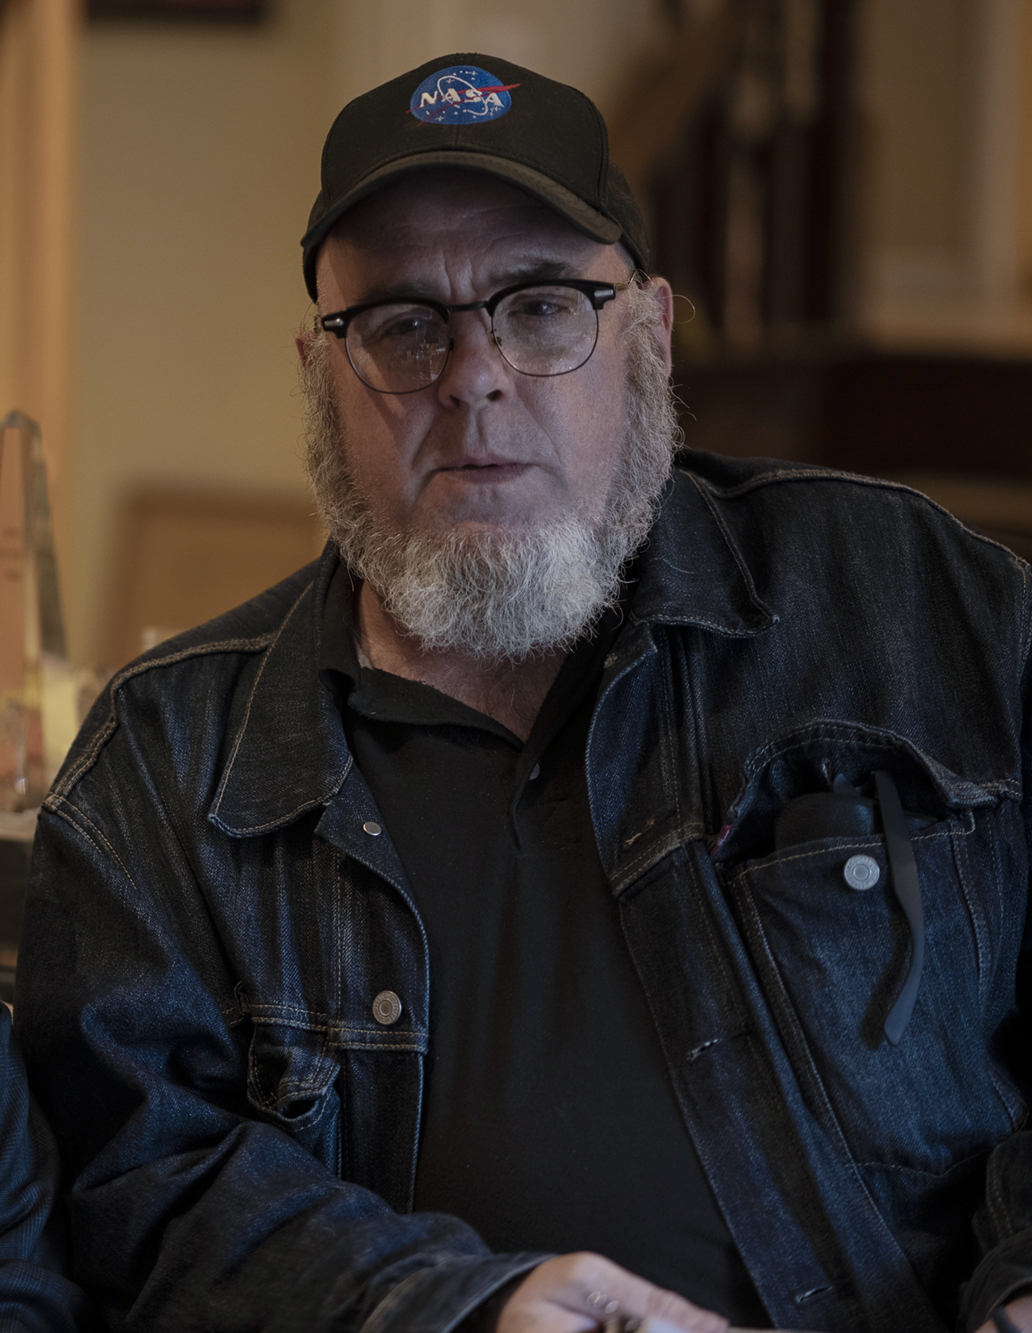
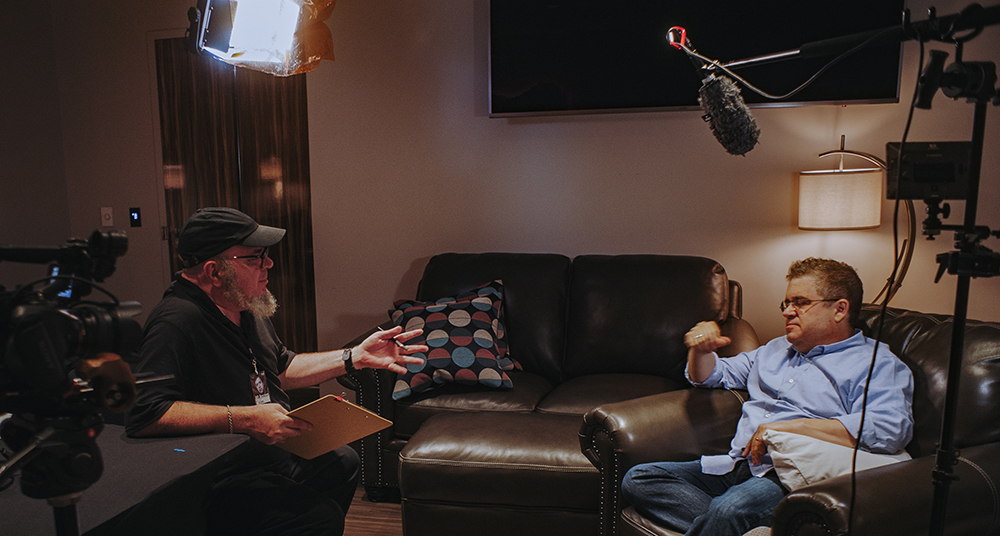
I have spent the last few years working on a documentary. I had a budget that seemed pretty decent at the outset but as the footage piled up and the pile of money dwindled, certain compromises had to be made.
One of the big takeaways was that trying to capture sound without a dedicated audio person is a recipe for disaster. I had lots of experience shooting low budget stuff and daily TV news footage and I was used to camera audio with a handheld mic or a hastily clipped on lavalier.
How complicated could it be? How bad could our production quality suffer?
Pretty bad, as it turns out.
I'll detail some common worst-case scenarios and tell you how to avoid them so you hopefully won’t find yourself in the position I was in. I'll also offer up a couple of handy post-production solutions for how to fix them. But I'll also let you know what CAN'T be fixed and how to avoid ending up tearing your hair out in the edit suite.
Your Camera Audio is Really Bad.
Yes, there are exceptions. But the sad truth is that jamming audio circuitry into an electronic camera is an afterthought for most manufacturers. Cheap, affordable DSLR cameras are an amazing asset for low budget filmmakers but the audio quality is seldom up to par with even the most inexpensive audio rig. If you are doing a rough and ready, run and gun production with a RODE shotgun mounted on your camera you might get away with it but it's strictly a last resort. It might be okay for a YouTuber on a skateboard, but in the long run it's not the kind of thing that gives you a lot of options or control.
And forget about the tiny, built-in camera microphone. These are strictly for reference only and typically the quality is even worse than a mediocre cell phone. By all means, record whatever built-in audio you can with your camera. You can use this abysmal source to sync with audio you capture on a dedicated recorder. More on that below.
Check. Double-Check.
Checklists and a comprehensive equipment check are your best defense. Before every shoot (typically the night before), I do a dry run with everything I'll need for the next day. That means I fire up all the relevant parts and connect it all together and make sure it's all there and in working order. I'll usually pack batteries and SD cards last after making sure everything is charged and the cards are wiped and formatted. And don't forget the disposable batteries. If I think I'll need ten AA batteries to get through the day, I'll have twenty on hand. It's a small price to pay.
And it's best to do it yourself. I once worked at a TV station with a dedicated equipment manager whose job it was to make sure everything was ready to go at a moment's notice. I drove 100 miles for an important shoot with a car full of gear only to find out I did not have a single microphone cable on board. We were rescued when we admitted our embarrassing gaffe to the interview subject who luckily had a contact at a local TV station who came to our rescue.
What You Need. What You Don't Need.
The first thing you need is to release yourself from the tyranny of your camera's gnarly audio by using a separate audio recorder. The ZOOM H4N Recorder is a fairly typical presence on low-budget shoots. The ZOOM has a street price of around $200. It can handle multiple inputs, has good battery life and is a pretty sturdy package with a decent build quality. There are more expensive options with some bells and whistles, but (generally speaking) with a decent microphone, the sound quality is about equal.
Microphones are your first line of defense in getting good sound on location. A worthy microphone is a big investment and they come in all shapes, sizes, and price points. A shotgun microphone on a boom pole is probably your most flexible option. With a little bit of finesse and experience, you can use a boom to cover more than one speaker but it's very situation-specific. It's startling how much audio in big-budget Hollywood productions is added in post-production. Location shoots can be noisy and hard to control and a post-production trip to the studio to replace noisy dialogue is typical and expensive. Another useful trick is to record “wild” dialogue. Sometimes you just can't get a boom or a wireless where you need it to be for best results. A separate audio-only recording of a scene can be a lifesaver in the edit.
Wireless microphones are also something to have in your tool kit. For documentary situations where a visible microphone is not a deal-breaker, wireless mics are ideal. Make sure you position the microphone so it's going to pick up optimal sound. Typically a one-shot of an interview is not going to be head-on looking directly at the camera. If your subject is facing screen-left, the lavalier would be on their right side. And “dress” the microphone even if it's obviously going to be visible. That means don't clip the microphone to someone's lapel and leave the cable dangling down their shirt. Clip the excess wire behind their jacket or shirt so it's not as noticeable. It just looks bad otherwise.
You can also hide the microphone inside a shirt or jacket if the situation calls for it. You can remove the clip and use medical tape to affix the microphone inside clothing. Be careful here. Don't tape over the microphone. Leave the actual microphone capsule uncovered and put the bandages on the wires. You can usually cover the microphone with a bit of (thin) clothing without losing sound quality but some trial and error is called for. Clothing can rub against the microphone and jewelry can be especially problematic. If your talent really needs to wear that set of gold chains, you can use some medical tape to judiciously pad their jewelry and minimize extraneous noise.
And of course, a wireless microphone usually entails a cumbersome battery pack that needs to be artfully hidden somewhere. Typically, you want to clip the battery pack to someone's waist near their back. Be mindful of what is happening in the scene especially if the talent is going to be doing a lot of movement. It is not unheard of to use a large patch of obvious medical tape to affix a wireless battery pack to bare skin. Just be careful that there is enough slack so they don't end up yanking the whole thing off when they move around.
Trust, but Verify.
“Trust, but verify” is a useful old Russian adage that's typically applied to circumstances outside the realm of your homegrown Hollywood efforts. But if you enlist your roommate as a last-second substitute for a trained sound tech, “trust, but verify” is a worthy policy. In a practical sense, this means double-checking (see above) every connection and piece of equipment yourself. Put on the headphones and make sure you have a decent microphone level before entrusting your cousin to keep his eye on the meter and the blinking “record” light.
Here's a real-world example:
Portable compact digital recorders like the ZOOM have built-in microphones that are handy for journalists who use the gadgets to record sound bites on the steps of City Hall as they negotiate a scrum of journalists and photographers. These built-in microphones are not what you want to use in most cases. You want to plug in a decent microphone and bypass the built-in version. The problem is it's not easy to tell at a glance which input is recording. This is an ugly lesson that I learned the hard way as a one-man-band.
There was a nifty wireless lavalier microphone clipped to the talent's lapel. I asked for a microphone check and (sans headphones) could see the levels were more than adequate. When I dragged the files into Adobe Premiere the next day I was in for a shock: the audio was mistakenly recorded with the built-in microphone instead of the lavalier. Sure, the levels were “technically” adequate but the built-in microphone was ten feet away from the interview subject and it was a boomy, reverberating mess. It would have been readily apparent if I bothered to actually listen through the headphones. There are LED lights that correspond to the inputs but they are easy to miss in the heat of the moment. So don't trust your own instincts or your cousin's commitment to hard work. Trust, but verify.
What CAN and CAN'T be Fixed in Post-Production.
In the previous example, I was able to do a reasonable fix in post-production but it was far from ideal and ate up a lot of time. Tools like iZotope and Adobe Premiere have modules and filters designed to minimize reverb and noise but they aren’t perfect. Reverb is especially tricky to remove, and it really depends on the situation. A bit of reflection in a big room with hard surfaces is usually something that can be improved but don't expect miracles. If you have to shoot in a noisy public space like a bar or restaurant, do whatever you need to do to get them to turn the jukebox or piped-in Muzak off. You will never get that out in post and even a brief bit of music will cause legal headaches.
Another problem more easily identified through headphones is electrical noise and interference. You might not notice that a nearby refrigerator or air-conditioner is generating a lot of noise on location, but you will be in for a surprise when you are in the middle of post-production. It's especially grating when you cut it together. Refrigerators and air-conditioners tend to cycle on and off and it's not always noticeable on location but when you cut from one clip to another it can be brutally obvious. Lucky for you, most editing programs will let you identify that specific noise and filter it out.
However, the best practice is to try and stop the noise at the source. Refrigerators can usually be unplugged for a short amount of time without much fuss. Likewise, air-conditioners. Always record “room tone” for at least a minute. This entails telling everyone to shut up and be quiet while recording at least a minute of apparent silence with the same microphone and recorder. The tricky part is that it is never really as quiet as you think. That minute of room-tone serves multiple purposes. When you edit a series of clips together, that room-tone can be a lifesaver. A silent gap in dialogue between sentences or different speakers will stick out like a sore thumb and you can use that room-tone to cover up an edit. Room-tone is also useful when you have to filter out extraneous noises and buzzes.

Buzzes and electrical noises are a different animal. If you hear a buzz in the headphones, it's probably from some piece of electrical equipment in the vicinity. Electrical noise is a very specific sound that you'll be able to identify with experience. Neon and fluorescent lights are especially prone to giving off weird sounds. Some of this can be prevented by using balanced XLR connections instead of phono jacks and cheap, unshielded cables. Often it's just a matter of reorienting your recorder or microphone and keeping it away from obvious sources of interference like the aforementioned lights, power-sources, and equipment. Keep microphone cables away from power sources and extension cords. If you still hear electrical interference in post-production, this is where your room-tone can come in handy. The way most noise-reduction filters work in editing systems is you identify and load a sample of the noise and the machine will erase that specific set of frequencies from the recording. Your room-tone will provide a perfect profile of the noise. It's not a cure-all, but it can be a lifesaver if you plan ahead.
I was on a recent outdoor shoot where I kept hearing a weird, intermittent buzz even though we were in the middle of a field of grass. Every time it happened I would cry foul, and just as soon as I mentioned it to the director the noise would stop. I was flummoxed until it hit me that the talent's cell phone was the culprit. Even though they were asked to put their phones on silent, the vibrating silent-mode was generating a strange electrical noise that was picked up by the wireless microphone. Lesson learned. Tell everyone to turn off their cell phones. No exceptions.
Maintain Situational Awareness (and a Sense of Humor)
For my forthcoming documentary Drew Friedman: Vermeer of the Borscht Belt, I have interviewed an incredible roster of folks. Patton Oswalt was a great interview and about as amicable a person as you could hope for. I also had a great talk with Marc Maron and a nerdy off-camera exchange about how ZOOM recorders were a great tool for filmmakers and podcasters. We spoke with Gilbert Gottfried between guests at his podcast and he was profane and hilarious.
We sat down with audio engineer Frank Verderosa for a behind-the-scenes look at what it takes to record and mix a few hundred episodes of Gilbert's insane podcast. Frank has a long list of incredible credits in post-production audio that includes just about everything you would want in the world of sound. He's a total pro and a breeze to work with. On-camera, I asked Frank to explain his duties and what it takes to get the job done.
Frank told us his primary job is to “...make sure the audio is pristine and of the utmost quality.”
He then proceeded to loudly scratch his chin right next to the lavalier microphone that we had neatly and unobtrusively clipped to his sweater. It sounded like sandpaper being dragged across a megaphone.
The audio person stopped the interview and gently told Frank, the esteemed engineer, that he was rendering the audio unusable. Frank apologized and we started over.
We made it through another question and Frank again started absentmindedly scratching the microphone as he dragged his hand loudly over his sweater. My audio person shot me an exasperated look of daggers and shook his head. I stopped the interview once again.
I didn't know what to say. I was tongue-tied. I was trying to think of a way to delicately explain the problem to Frank when he burst out laughing and started loudly scratching his microphone once again.
Score one for Frank. He got me.
“I guess it's an audio guy joke,” I said and the room erupted in laughter.
—
Note From Tongal: “Location Sound: What Can Go Wrong Will Go Wrong" is part of a series of Tongal Community-written blog posts that were originally sourced in the Tongal Blog Open Call Project. The views and opinions expressed in this article are those of the author(s) and do not necessarily reflect the official policy or position of Tongal. Read more Tongal Community-written posts here and then Pitch us a topic you'd like to write about for the Tongal Blog!