One of the best things about being a stop motion animator is that there are always new tips to learn and new things to try. I’ve been animating with LEGO bricks for nearly 25 years, and I’m still experimenting with new tricks on nearly every project.
If you’re just getting started in stop motion animation, I suggest you check out this awesome tutorial by my colleague Ant Bandit. But if you’d like to learn a few advanced stop motion techniques that I’ve been adding to my arsenal over the years, read on!
Locked off shots are freedom
Camera moves add tons of dimension and fun to any given shot. But if you determine that a locked-off shot serves your story, then a whole world of options opens up to you. By taking additional stills at the beginning or end of your video, you can mask over any given area, provided that you avoid any moving characters or elements (or you’ll spend hours rotoscoping). Here are some examples from my own work:
In this shot of a Star Destroyer hangar, I only built a single background panel and placed it behind the area where Princess Leia was moving. When I was finished animating, I moved the panel and took multiple frames of each position until I had all the stills I needed to completely cover the background.
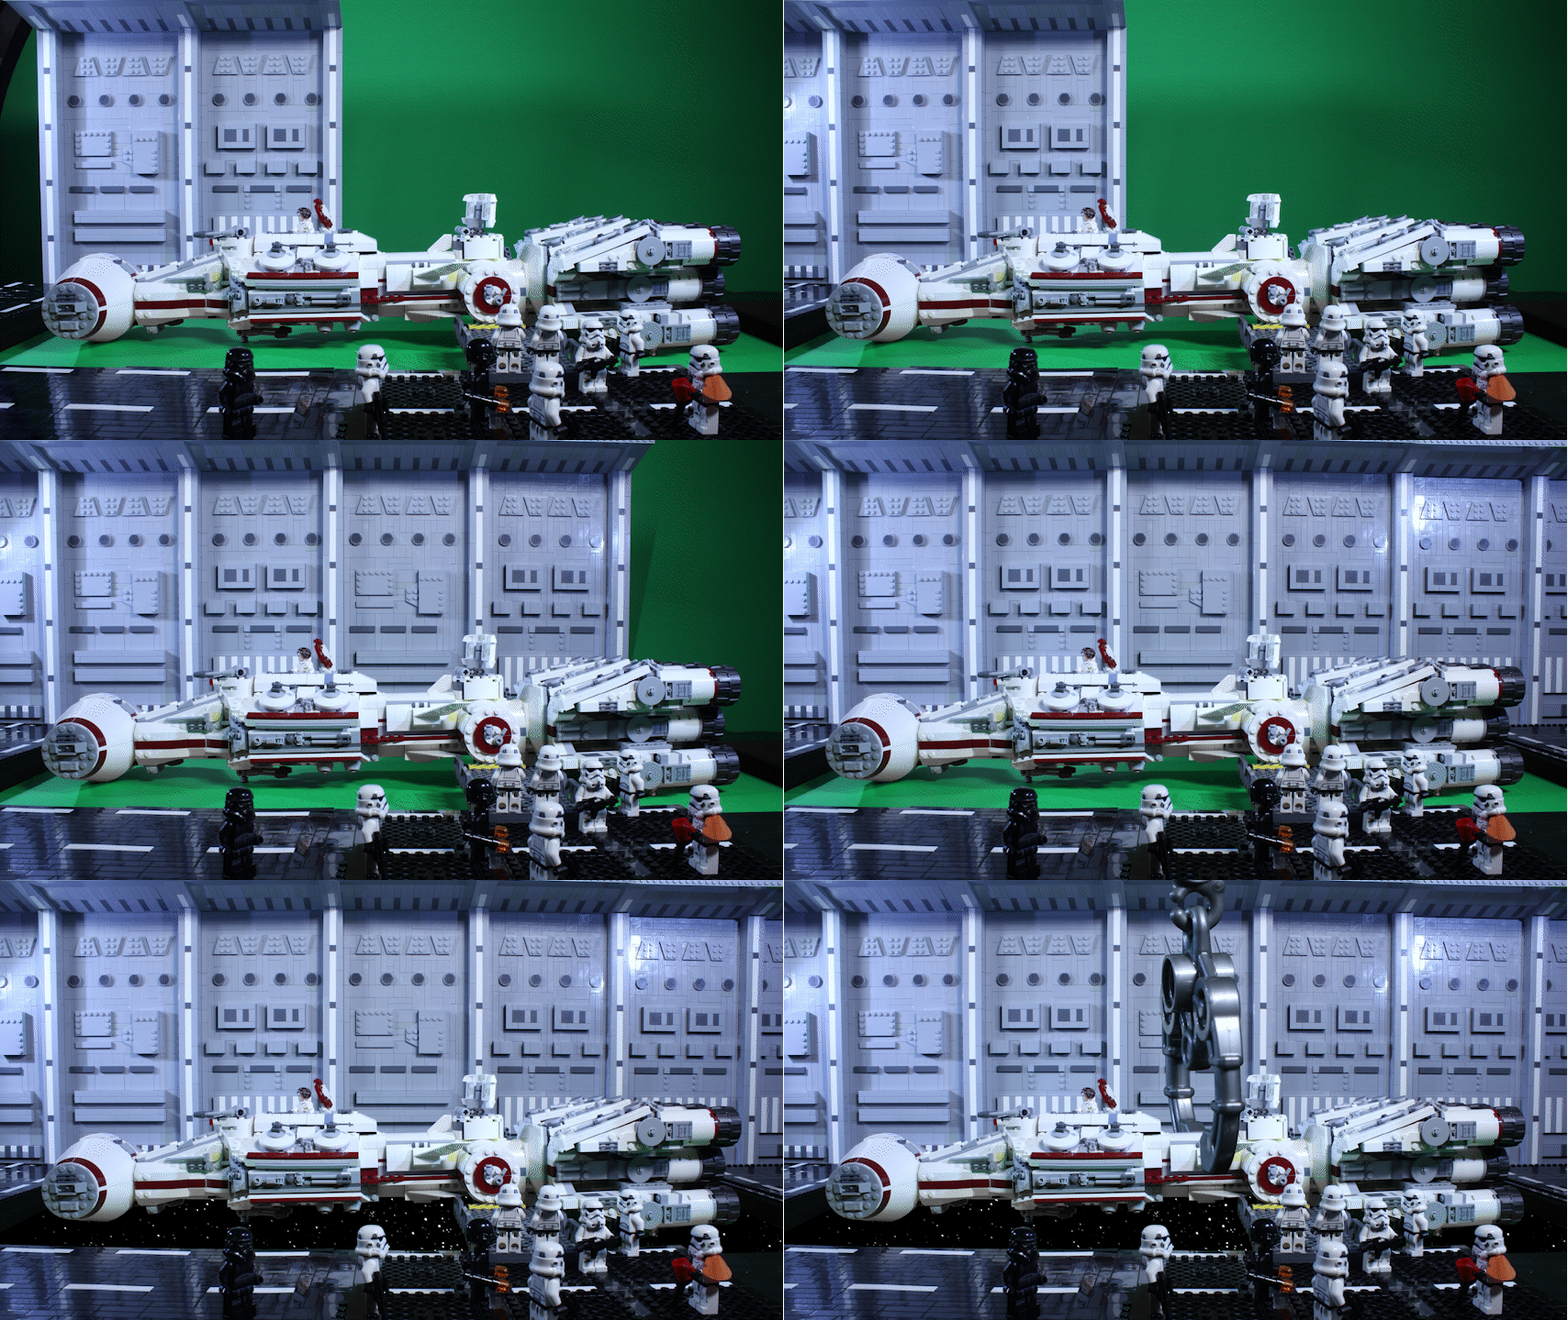
I then masked these frames over the animated video, making it appear as if I had built out the entire environment. This gave the shot added authenticity by keeping the correct shadows and reflections, which would have been lost if I had elected to pull a key on the green screen. I've found this to be a really useful stop motion trick. Check out the completed shot in this video I created for the LEGO Group!
I used a similar approach to create the light coming from the Millennium Falcon. None of my miniature lights were bright enough for what I needed. So while animating, I had a desk lamp on screen behind the ship, creating the light that I wanted. When the shot was finished, I removed this lamp and took multiple stills with the lamp sitting right on the ship, then illuminating the front lights, and then gone entirely.
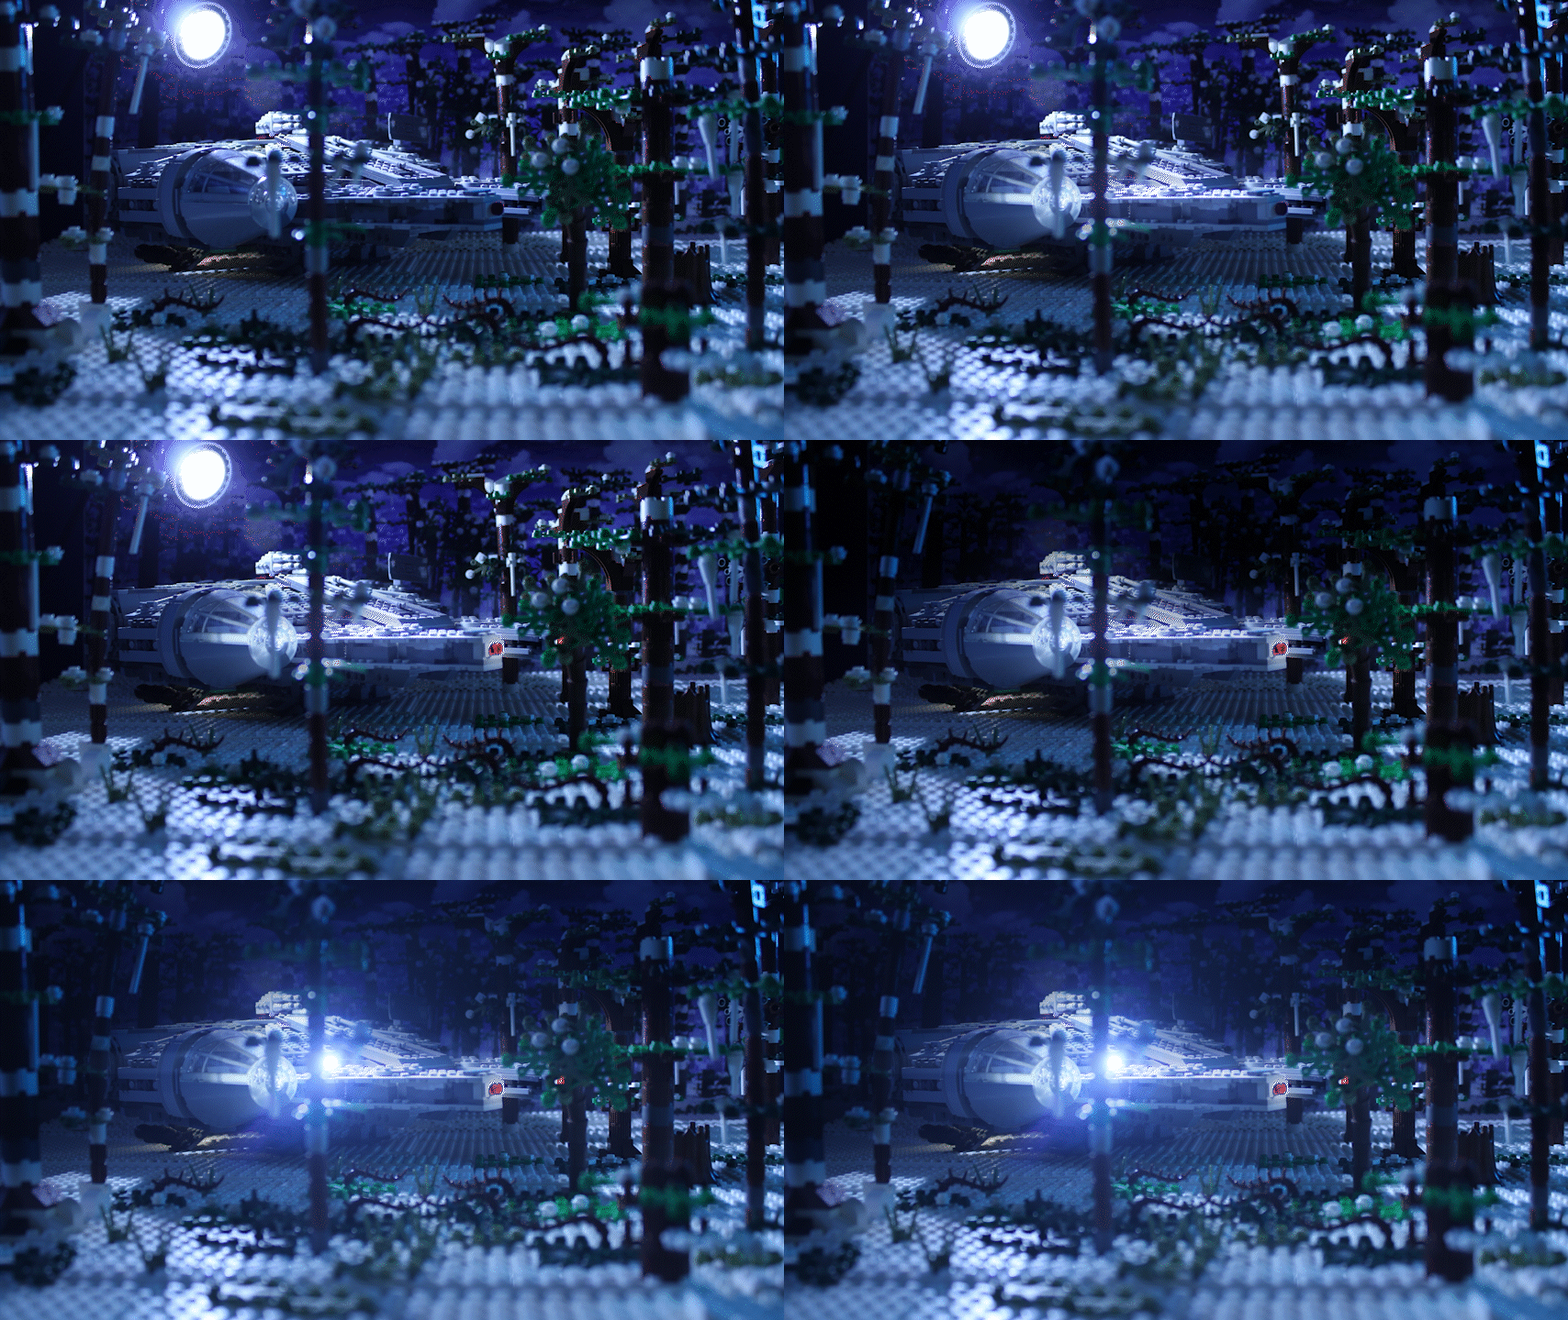
I then masked all of these stills onto the animation to paint out the lamp and light up the headlights. A digital lens flare really helped tie the shot together. The finished video, which I created for LEGO's YouTube channel, can be seen here.
Choose the right sticky stuff
When creating a stop motion video, it’s often helpful to have a sticky substance on hand to help your characters balance, or to secure a prop to the floor, etc. I have three different materials that I use, all for different purposes:
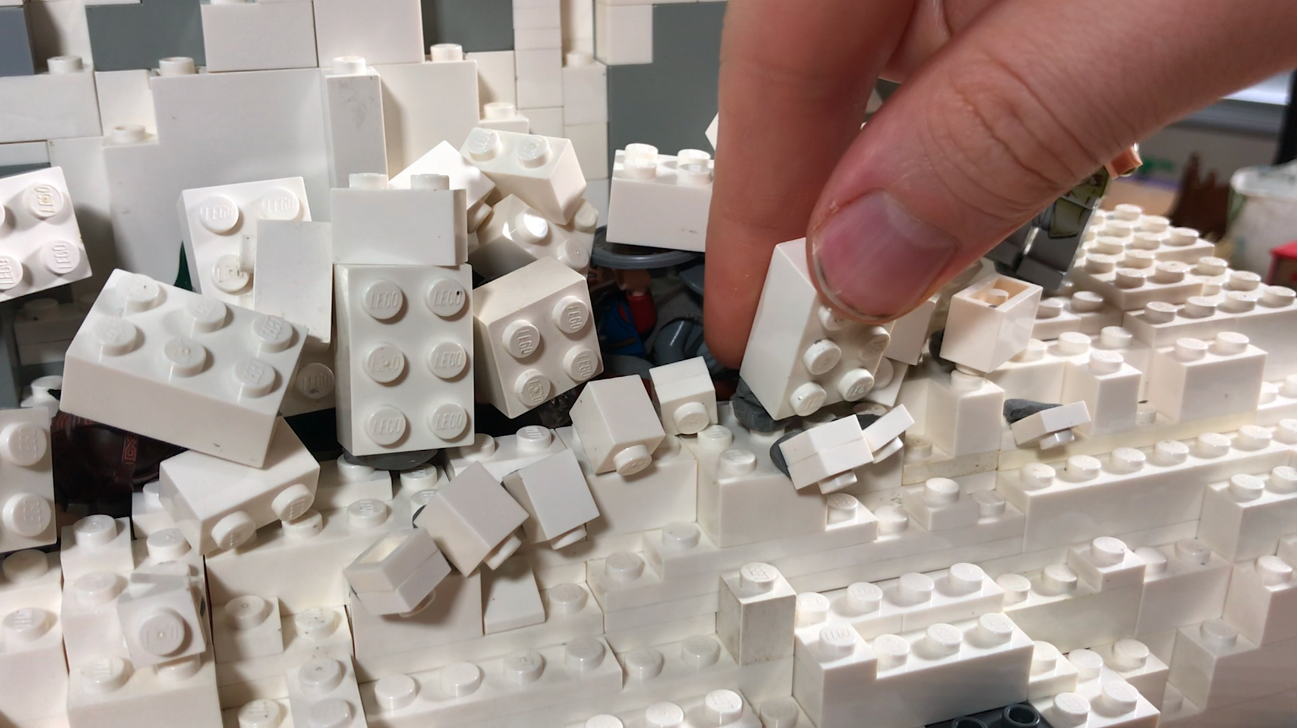
Clay: I use a brand called “claytoons” that I pick up at Michael’s craft store. It has the perfect balance of stickiness/resistance/give to help balance a character while walking, or to hold them up for a small jump. The downside of clay is that it has a tendency to leave bits behind and embed itself into the molded LEGO logo on individual studs. To make these leavings less obvious, try to match the color of the clay you are using to the surface it is touching. Black residue on a black baseplate is hardly noticeable, but on a white baseplate it is glaring.
Poster putty: This sticky stuff has a tendency to stick to itself, and as such is much easier to clean off than clay. Just get a big ball of the stuff, smoosh it on top of the leavings embedded in your LEGO plate, and it comes right off. The downside of poster putty is that it isn’t firm enough to hold up a character mid stride or mid jump. I use it primarily when sticking a prop to the floor or the wall, something that won’t be moving much in the shot. It’s also great for securing your baseplate to the desk to avoid bumps while animating.
StikkiWAX: The stickiest of the three! Only a tiny little bit goes a long way. I use it primarily for very tiny elements, like attaching a prop to the side of a characters hand, or securing a miniature light behind a LEGO candle flame. It is partially translucent, and blends in much better than the other two. But it leaves residue. SO MUCH RESIDUE! You have been warned.
Rear projection is cool again
Since the earliest days of Hollywood, projected footage was used to create moving backdrops, most commonly seen in car interior shots. This technique was also used to great effect by legendary stop motion animator Ray Harryhausen, who used it to combine his animated creatures with live action footage. In the past few years, many brickfilmers have discovered this lost art, and are using it in lieu of compositing in many shots.
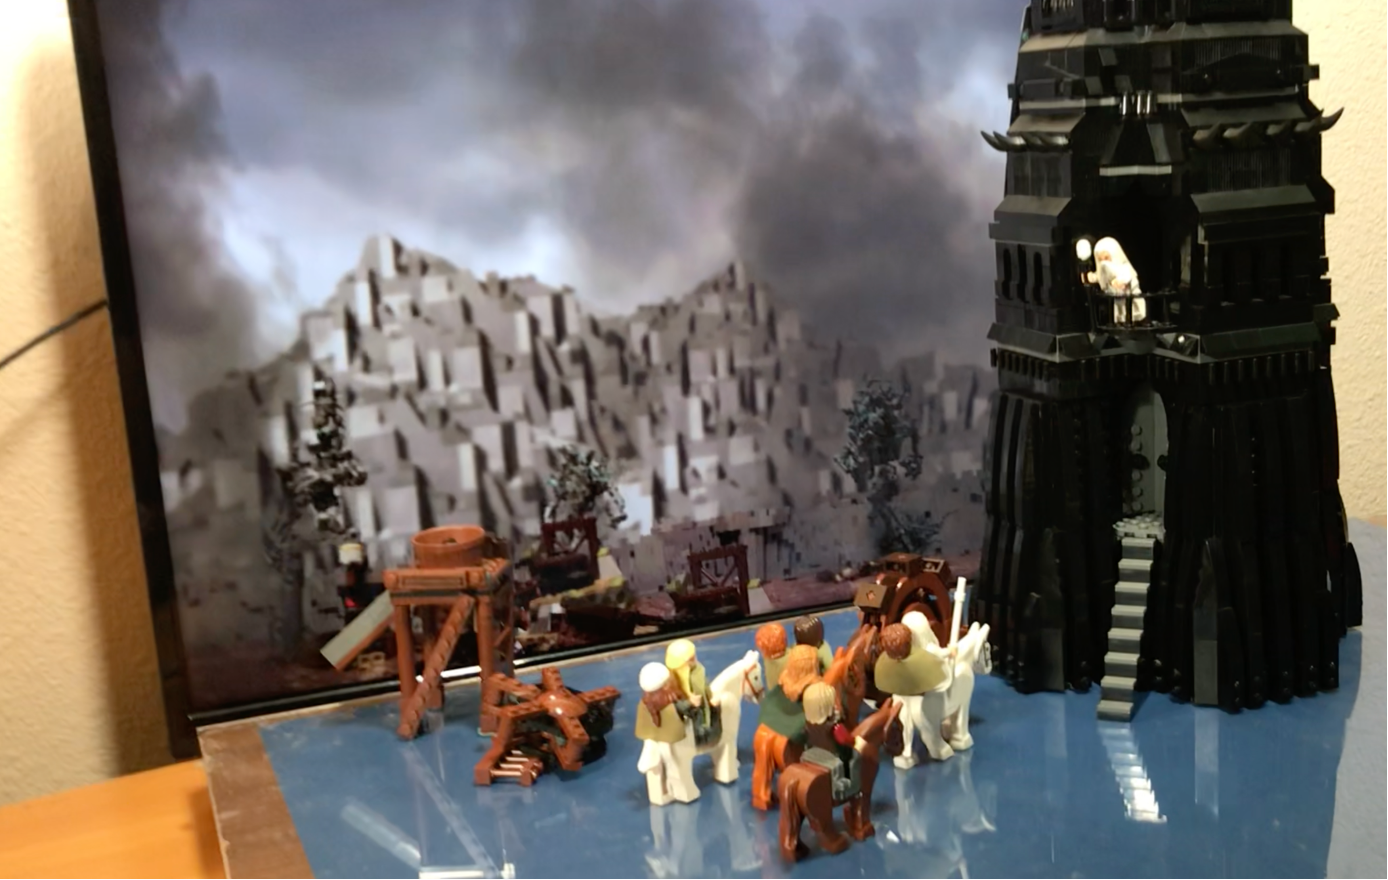
I personally use a secondary monitor with a video file pulled up as my backdrop. I scrub through this video one frame at a time so that the motion of the video matches the motion of my characters. Check out this behind-the-scenes video to see this stop motion tip in action.
This approach is best to employ when the scene has “unnatural” lighting. So a sci-fi setting, or an outer space backdrop, or an artistically lit night scene tend to blend with the foreground elements better than a more common place scene, like a sunny day. Our eyes are great at picking up when something looks out of place in settings we are used to, but are much more forgiving when the setting is unfamiliar.
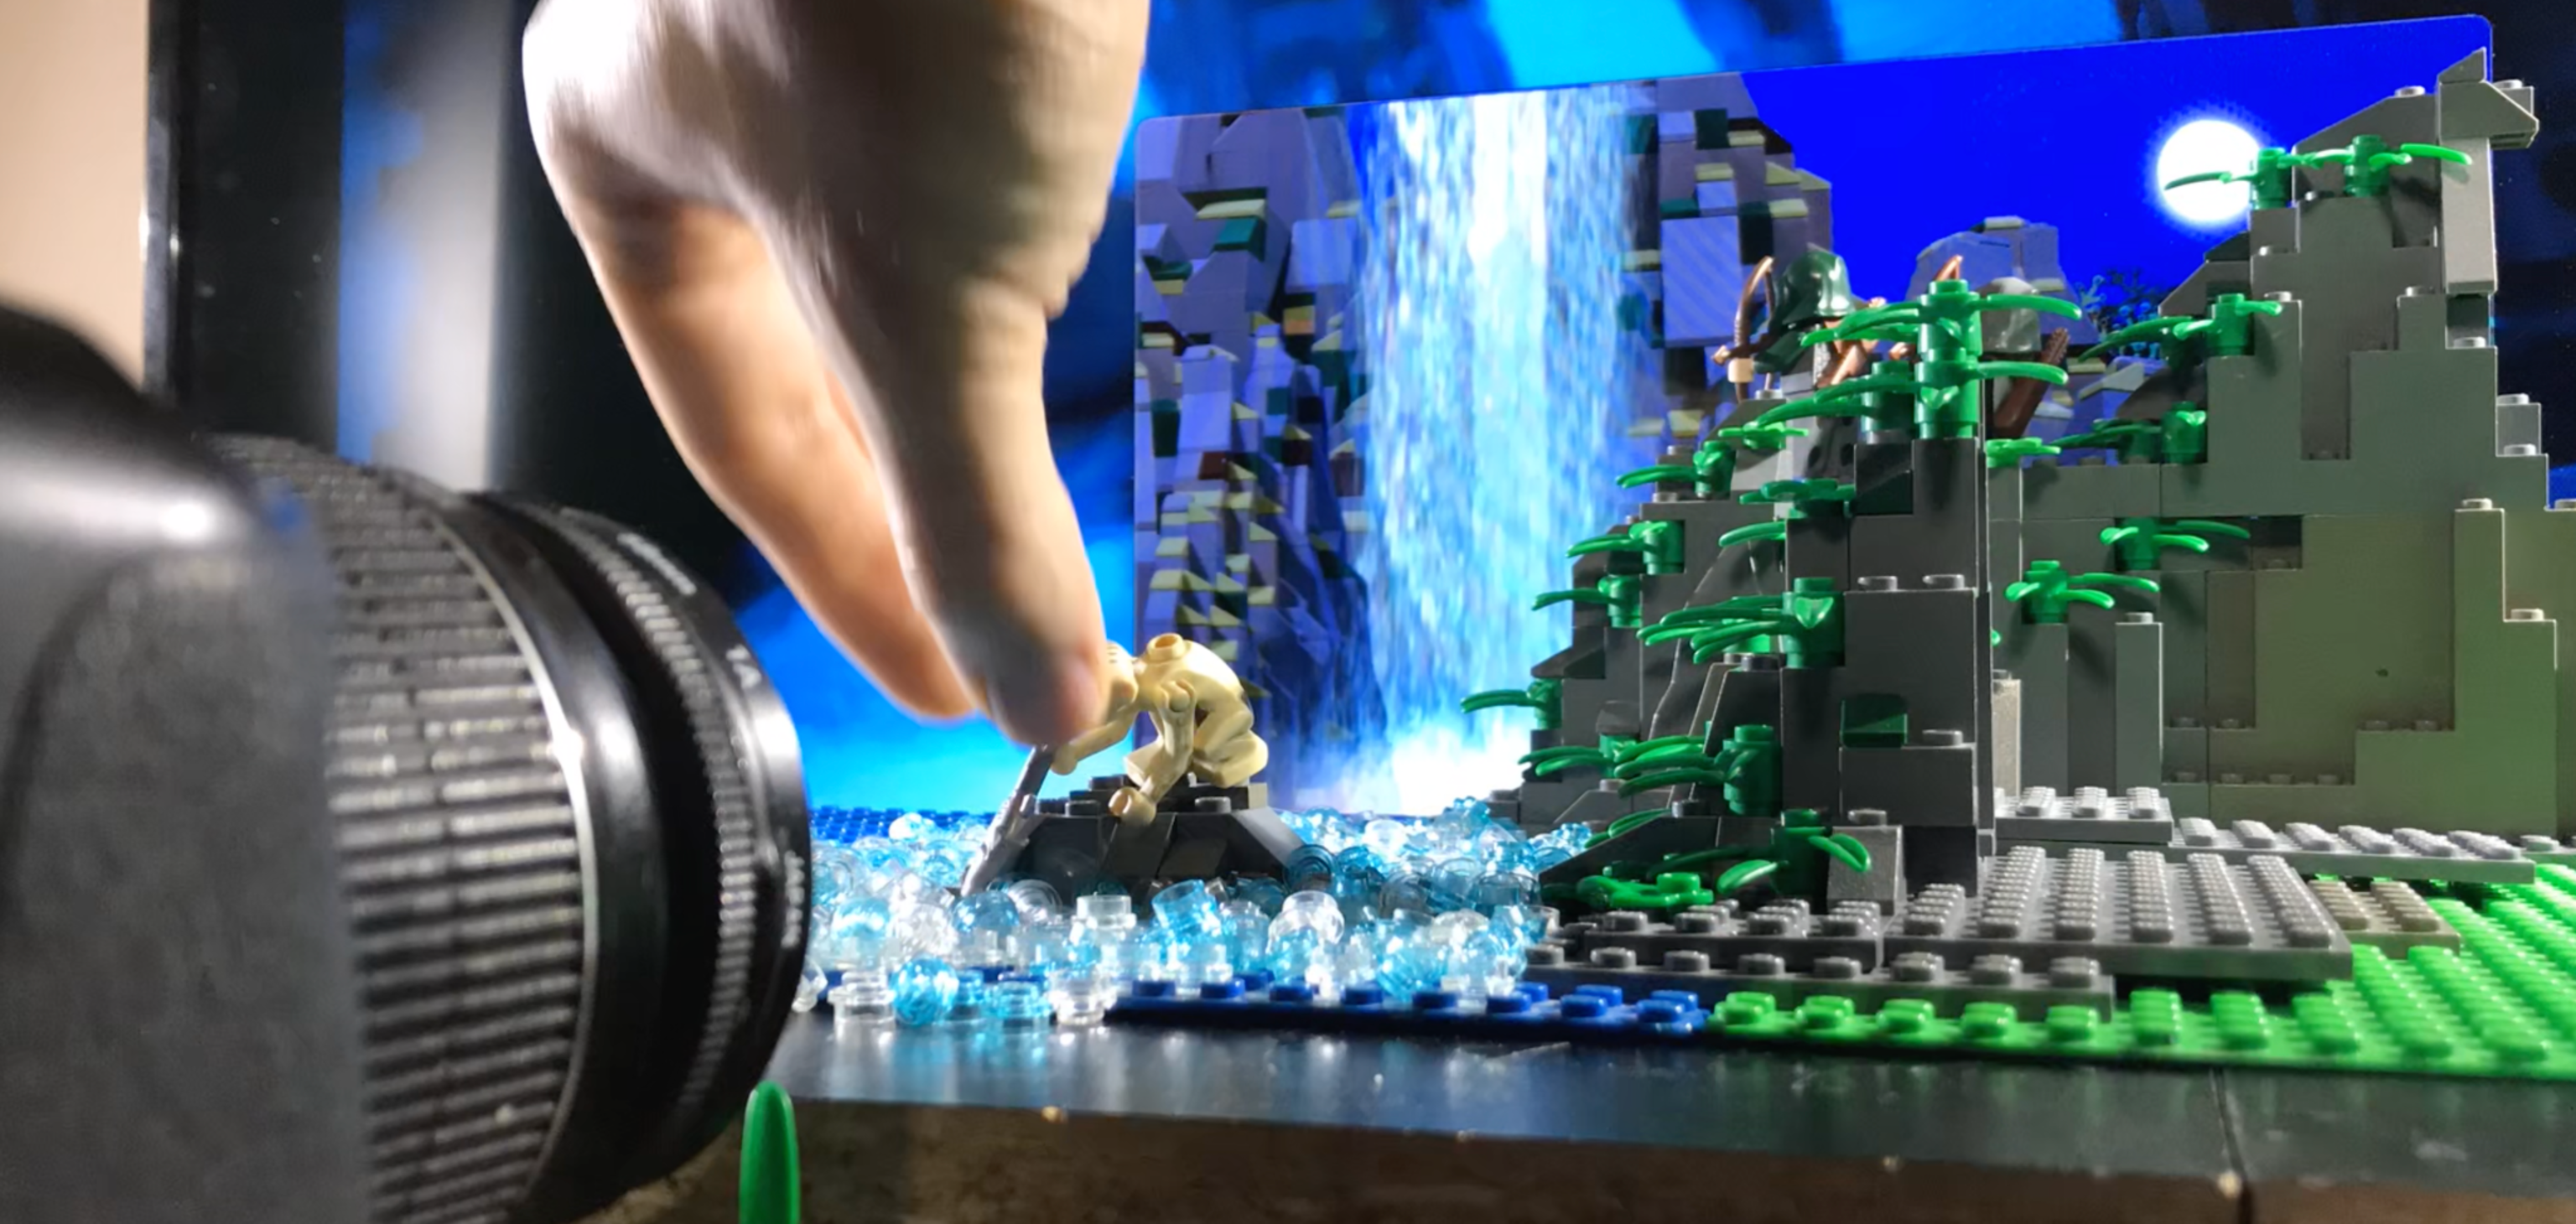
By using a TV or projector instead of a green screen, you are able to avoid the sometimes tedious process of compositing, and maintain the natural reflections on your LEGO builds, making the scene look more real.
And there you have it! Three LEGO stop motion tricks that I’ve learned over the years, that have opened up worlds of possibility for me. I hope that you find them useful as well. Now go make something awesome!
Stop motion animators are working with the world's biggest brands on Tongal