I was never an artist or animator. I became one by accident. So I never really had formal training. I have learned most of what I do through trial and error, and tons and tons and tons of practice. I like to practice “everyday” art, which boils down to making art every single day. I try to produce different approaches each time so that I can find interesting techniques and expand my toolbox.
Recently I’ve been working on sharpening my concept-art skills. Concept art is relatively quick imagery that may not be up to publishing standards, but it is perfect for pitches, pre-production and just getting ideas on paper. We work in the visual medium, so visual representations of ideas might always trump words.
Unlike when I worked for a specific client or made an attempt at a pitch, I didn’t particularly have a starting point when I began making concept art. The what of what I was going to make was totally up in the air. So I opened my 3D software of choice, in this case Cinema4D, and gathered assets I’d owned but that I hadn’t used recently. This brought me to a Mech Kit, the“kitbash” kit, which I’d purchased off of Big/Medium/Small early last year. Essentially, it's a collection of parts that you jam together to make something new.
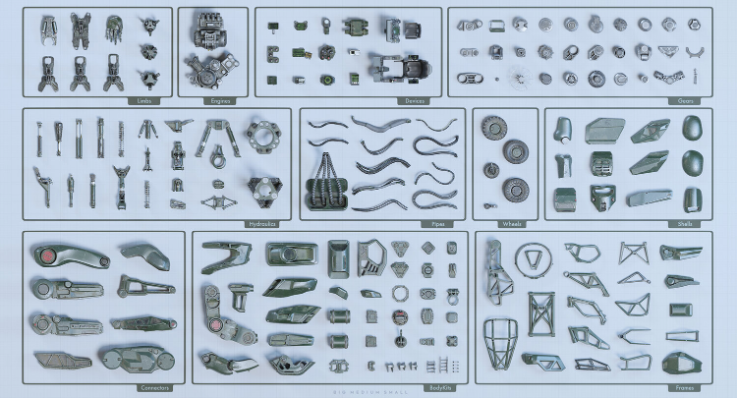
With this kit in my toolbox, I knew I was going to be making something with hard surfaces, something robotic. I jumped over to good old Pinterest to scan through as many images as I could to find the vibe I wanted to create. After pinning for a good hour, I found myself pulled toward a Diesel Punk aesthetic. Think: WWI got its chocolate in 90s era manga peanut butter.
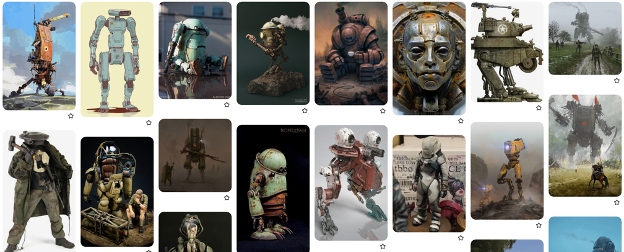
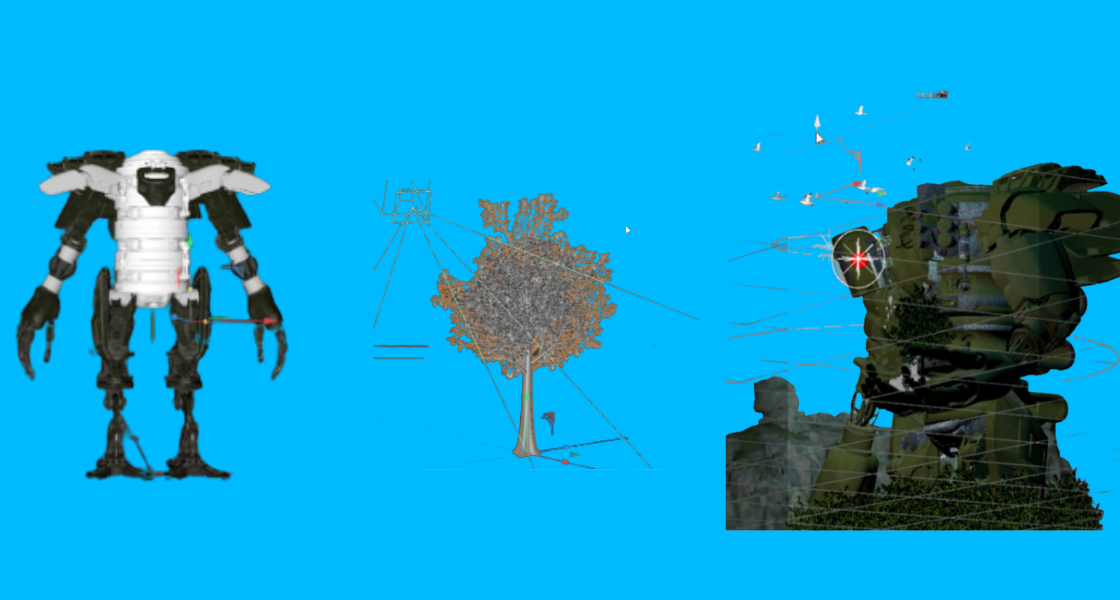
Now that I’ve got a subject and an aesthetic, I had the idea that I wanted the mech I’d build to be holding its hand out and looking down at something. Maybe it's holding its own pilot? In Cinema4D, I blocked out the shape. A few things I noted in all the mechs that I liked include the awkward proportions, squished heads, elongated arms, hulking crouched shoulders. Using primitive shapes, I designed this model:
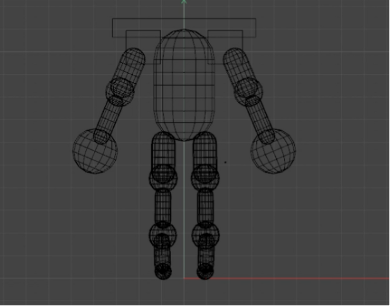
Magnificent, right? Next I used the kitbash kit to fill in those shapes one by one, until I had a more traditional looking robot. I couldn’t quite get enough shapes from just the mech kit, so I added another kitbash kit from Oleg Ushenok, which has a lot more complex parts. The body looked a bit like a stag party keg, but I’m okay with it.
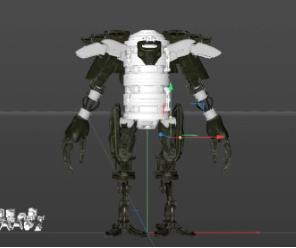
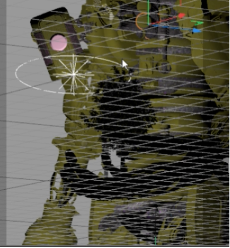
Once we had our robot, I went through and textured it, then posed it roughly in the position that I wanted it to be at. This let me find a camera angle that I thought looked right. Unfortunately, I HATED the head. It just looked too evil, too scary. So I went back to Oleg’s kit and found this gorgeous square with a circle. Which looked like a lot of the cute-but-functional diesel punk mechs from the reference material.
Then came my big dilemma, what was going to sit in his hand? His scale just seemed massive, like a skyscraper, so holding his pilot would be a bit too much. But there was something about a tree that felt right.
I really liked the idea that this machine had just scooped up a tree, roots and all, and was scrutinizing it just as if it was curious about this thing that it usually just tramples while walking over a battlefield. It was simple, emotive, and funny. So with that we got our subject and our title “Examine”.
Insydium is one of the great Cinema4d plugins, and it recently got an update to include plugins with Taiao. This plugin grows plants, flowers, grass and trees. I hadn’t had much of a chance to use it until now, but it really came in handy. This is one of the reasons I do these everyday experiments. I get to familiarize myself with new tech, so when client work demands that I engage with it, I don’t have as much of a learning curve to overcome. Taiao is amazing. It let me customize my tree and really art direct the design of it. This was super important because the tree is going to be the center of the piece; adding details is key.
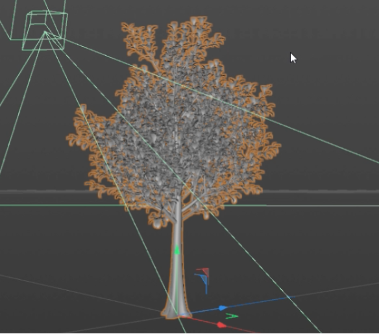
We’ve got our mech. We’ve got our tree. Now is the fun part: lighting. I started with an HDRI, which is just a big sphere texture that emits light. It really helps give you a realistic lighting setup. I pulled that down, so it was super dim, just barely lighting the scene. Then added a key light to each object, one over the tree, one over the mech, and one shining from the eye of the mech. The last one cast a little red light on the edge of the tree.
I filled out the base of the mech with a bunch of other trees, so we get the idea he’s walking through a forest. I shoved a mountain far in the back of the scene just to fill it out. These were great to give our mech a sense of scale, but it wasn’t quite enough. I wanted it to feel just massive. I had these images of steam and I placed them on flat planes, and told the renderer to use the black of the image as its opacity.
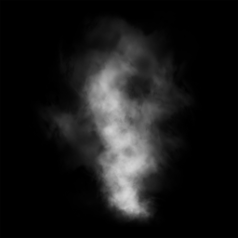
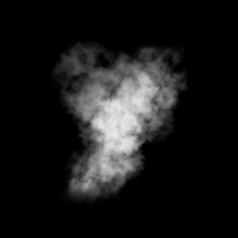

Placing these around the scene, we got a sense of depth and scale, but it wasn’t enough. What else is in a forest? Birds, lots of birds. A big old robot running through your forest might disturb the birds, and so adding a bunch of tiny birds would really help.
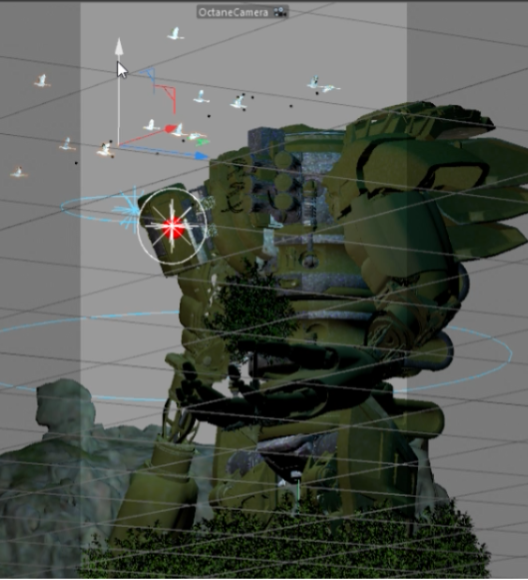
I took one set of birds and duplicated them a bunch of times, staggering their depth and direction but always keeping a right to left flow. They’re running from the machine, so that really helps add in movement that was missing from this image. Now it has more life to it. But something was still wrong. So I showed my partner the image, and she couldn’t see the head. The big circle did not sell it as a face. So once again I tweaked up the face, creating two eyes and expanding the jaw.
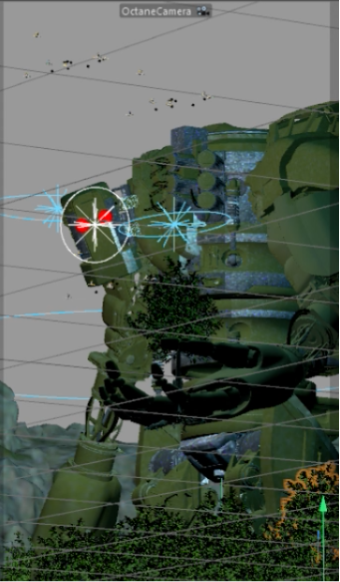
Now it was time to render. So I put my sweet robot boy in the oven and waited. It took a good 12 minutes to bake, and when it was done, we had our raw base render.
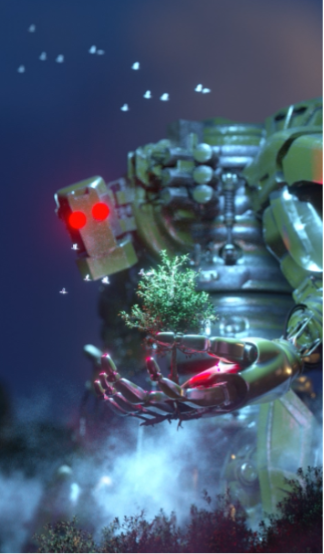
It was definitely pretty, but it had this super sharp digital edge to it. Sometimes I like that edge, but it doesn’t scream concept art. It feels unfinished. So I took it into another new program I’ve added to my rotation, which is Topaz Studio. Topaz is an image editor, but it only does filters. You stack these filters to augment your image. It’s both incredibly simple and yet insanely complex in the number of alterations you can make. I was looking to just take a little of the edge off and give it a slightly painted feel. After stacking those filters up, I came out the other side with a nice cohesive image.
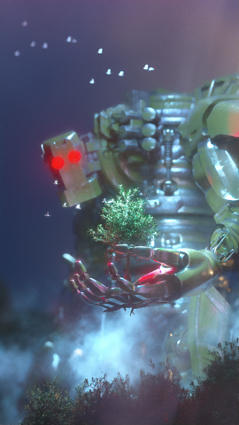
Everything just feels a little better on the other side of that process. A little more artsy, a little more analog. But even this didn’t feel finished. I let it sit for an hour before coming back to examine it again. The distance was important because you can adjust some images into oblivion. Stepping away helps you figure out if you really need to make the changes you’ve convinced yourself are needed.
I wanted to tweak the colors so that they felt a little more cohesive, and it model needed a bit of a soft glow all over. That said, I popped it into DaVinci Resolve and ran it through a few distinct looks until I came up with the final piece.
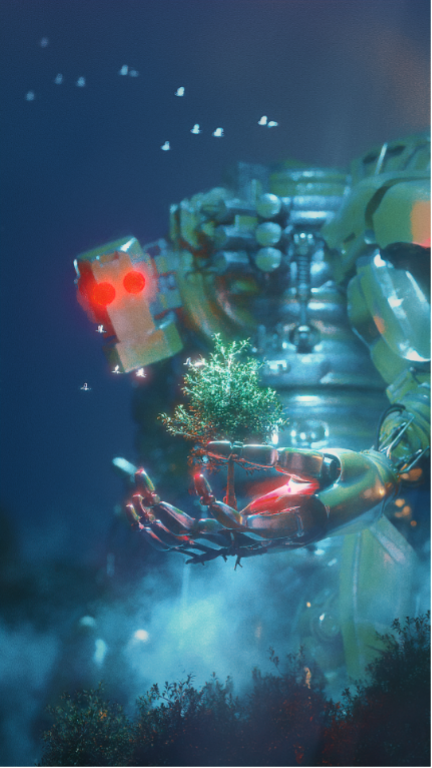
And there we are! A finished little piece. Seven-hours-of-work, one-hundred-assets, four-programs, and eight-plugins later, we’ve got one inquisitive robot. I probably spent more time than I needed because I was really enjoying the work, and it’s hard to pull away from the computer when you can just keep making stuff. Lots and lots of stuff.
__
Note From Tongal: This blog is part of a series of Tongal Community-written blog posts that were originally sourced in the Tongal Blog Open Call Project. The views and opinions expressed in this article are those of the author(s) and do not necessarily reflect the official policy or position of Tongal. Read more Tongal Community-written posts here!