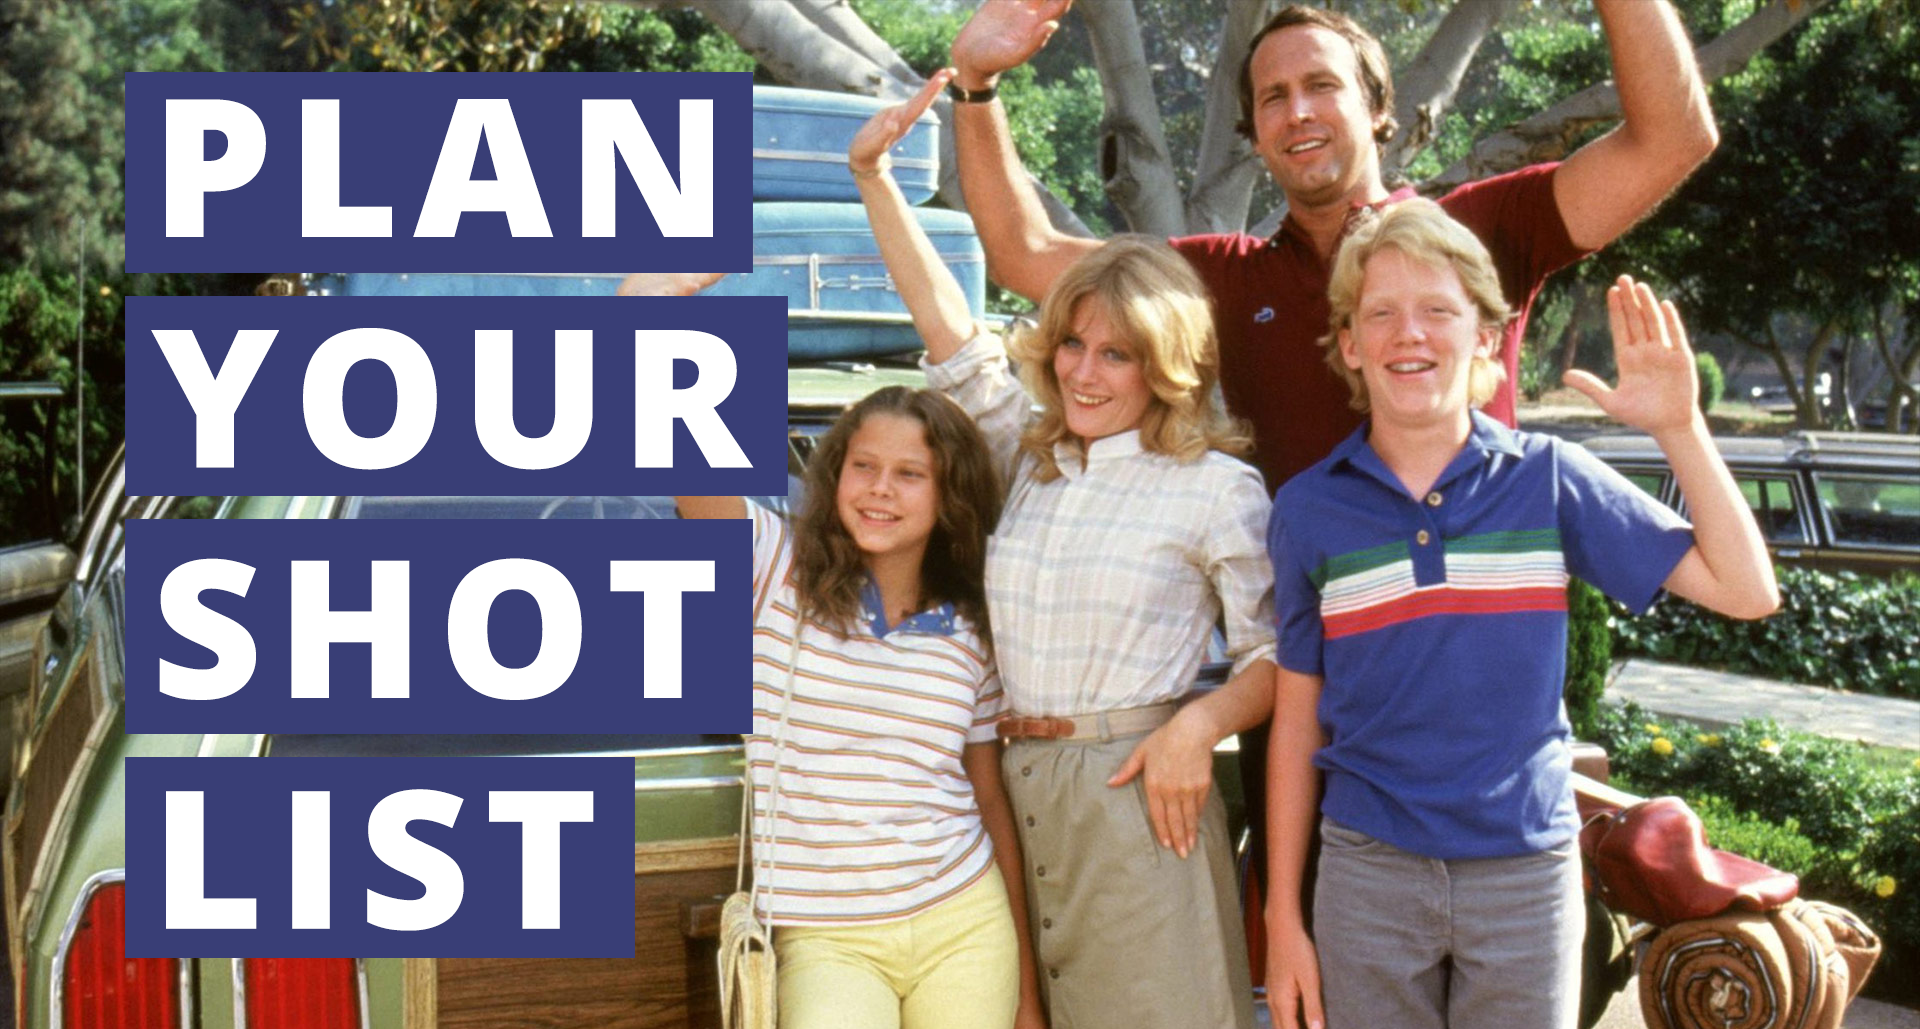
Let us metaphorically consider shooting a movie like setting out on a grand road trip. The camera crew is your vehicle. The actors and assistant director your fellow travelers. And, most importantly, the shot list is the map you are following to ensure the most fun possible while actually arriving at your intended destination. Without this road map— a shot list— your movie journey is more likely to turn into a National Lampoon’s Vacation nightmare of confusion, mistakes, and an editing room full of missed opportunities.
What is a Shot List?
First, let’s start by looking at what, exactly, a shot list is. As the director, the shot list is your vision for the scene laid out in a way that can be read by everyone on set. While your Director of Photography is an invaluable asset in creating a shot list; ultimately, you are responsible for putting together the list of shots that you want to shoot.
The shot list can range from a simple hand-scrawled list of Wide, Med 2 Shot, Single, Single to a computerized spreadsheet complete with visual storyboards. Your shot list can include the type of camera (dolly, steady cam, crane, hand/held), desired angle (overhead, low, hip, head), size (wide, cowboy, med, closeup), lens (if you know what you’re shooting with) as well as any descriptions that will help those looking at the shot list.
There are two main components to creating a shot list, and we’ll be analyzing a scene from National Lampoon’s Vacation as an illustrated example of how Director Harold Ramis may have created his shot list.
Lining the Script
As the director, the first thing you want to do is look at your script and visualize how you see the scene playing out. As you’re reading and figuring out the blocking, write down the shots you are visualizing— this is the beginning of your shot list.
This is your moment to go wild, to jot down everything you remotely think you want to shoot.
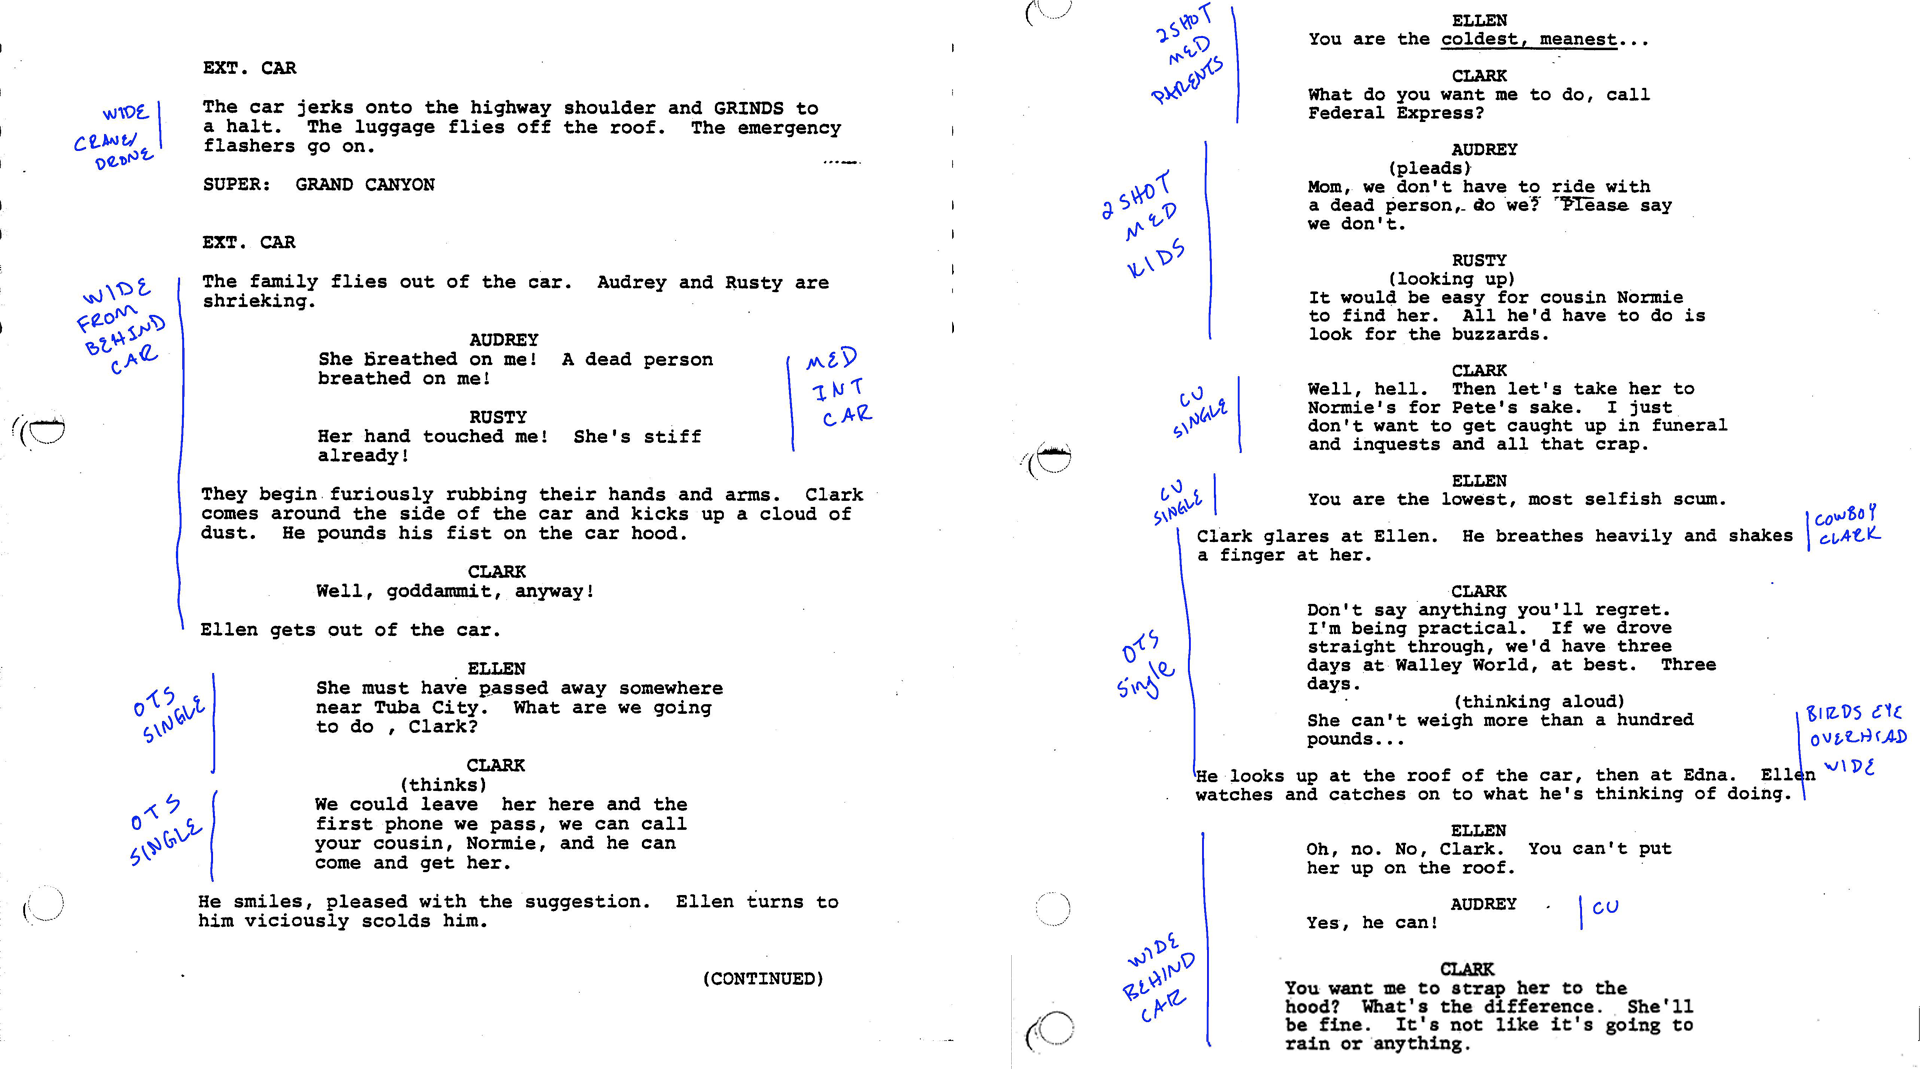
Once you’ve visually written everything down on the script page, you can then decide what you really want and actually need to shoot the scene.
Organizing the Shots
While you may envision shooting every conceivable angle, time and budget constraints are a real factor, especially in indie filmmaking. By creating your shot wish list in advance, you can then determine which shots are truly important and that you must get in order to edit your scene.
In the mock lined script above, there are twelve different shots listed:
1 - Wide 3/4 Profile Car Driving Up
2 - Wide From Behind Car
3 - Medium Interior Car
4 - Over The Shoulder Single on Ellen
5 - Over The Shoulder Single on Clark
6 - Medium 2 Shot of Parents
7 - Medium 2 Shot of Kids
8 - Closeup Single on Clark
9 - Closeup Single on Ellen
10 - Cowboy on Clark
11 - Wide Birds Eye/Overhead of Car
12 - Closeup Single on Audrey
You’ll also see some shots repeated, like the Wide From Behind Car. Whenever you envision a shot more than once, it’s probably a shot you should get. This is a great moment to bring your Director of Photography and Assistant Director together to talk through your desired shot list.
Your AD is going to remind you that you only have a half day to shoot this scene, and 12 shots is too many. So you’ll eliminate the CU Singles on Clark (8), Ellen (9), and Audrey (12). Your DoP is going to mention that you don’t have the budget for crane, drone, or overhead shots, so you’re going to eliminate the crane part of (1) and the bird’s eye altogether (11). The producer part of your brain may also kick in and you’ll realize by eliminating the interior car shot (3) you’ll save money by not bringing that actress to set that day.
That leaves us with a new shot list containing only seven setups:
1 - Wide 3/4 Profile Car Driving Up
2 - Wide From Behind Car
3 - Over the Shoulder Single on Ellen
4 - Over the Shoulder Single on Clark
5 - Medium 2 Shot of Parents
6 - Medium 2 Shot of Kids
7 - Cowboy on Clark
Fun reminder: Check with your Director of Photography to see which camera you’re shooting on. If it has 4K or higher, you can shoot a medium and then crop into a close-up in post. While shooting exactly the shot/angle/height/lighting you want is always ideal, sometimes good enough is better than not getting it at all.
Organizing the Day
Fantastic work— now you have a destination in mind. You know the seven setups you’re going to get and everyone is on the same page with how you want things to look.
Think you’re ready to get on set and start shooting?
…not quite. Coming up with the shots is only half the battle plan. The other half is organizing the shoot order. There are a lot of things to consider, and the more carefully you deliberate, the smoother your shooting trip will be.
Camera: If you have a setup that is daylight dependent, you may be forced to place an emotional scene at the end of the day, even if it means some of your shots might get cut. You may also shoot based on equipment— shoot out the steadicam before moving to sticks or hand held.
Flipping the World: If you start out shooting the east side of the room, and then switch to the west side, and then back to the east, you’re going to waste precious time resetting lighting. Flipping the World is a big deal, and careful thought should go into planning on minimizing the number of times it happens. Your DoP and art department will thank you.
Scene Content: Similar to makeup, there are a lot of considerations when it comes to your actors. By starting Wide and moving into CUs, you allow actors to finesse a scene without spending two hours rehearsing. On the other hand, if it’s a very emotional or intimate scene where your actor may not want to live in that moment for a long time, shooting their CU before going Wide may be the way to go.
Stunts: If you have a stunt sequence, you may be better off pushing the stunt to the end of the day or moving it to the beginning of the day, depending on the time and intensity level of the stunts. If you have blood that sprays everywhere, you may want to shoot that first so you establish what the continuity for blood splatters will be on your actors.
Talent: If you have young children, more expensive talent, or a large group of actors, you’ll want to consider how to shoot people out. Age restrictions and shorter shoot days mean your five-year-old will get everything on them shot first, regardless of whether that means flipping the world an extra time or two. If you need to shoot talent out in a half day to avoid doubling part of your budget, you’ll do similar lighting double-time to help make the overall day. If you have a large dinner scene, you may start out bringing in actors for closeups, slowly adding characters and pulling out to mediums and wides, before pushing back in to mediums and closeups on different talent.
VFX: Similar to action, visual effects and special effects may require extra setup and shoot time. If your talent has to sit in the makeup chair for an hour for sfx, you’ll definitely want to consider that when figuring out your day.
Stay Flexible on Shoot Day
You have your shot list, it’s organized, everything is ready. The only thing remaining is to stay flexible while on set. I don’t need to tell you that not everything goes smoothly. From a shot list of seven shots, Ramis only ended up shooting six setups.
Setup 1:
The Angled Wide from the side of the car pulling up and stopping went as planned. This was probably a stunt driver and shot at the beginning of the day so the suitcases landed in place. Actors were probably going through hair and makeup while this was shot.
Setup 2:
An alternate angle allows the car to be full of actors, who spill out and give us sweeping Grand Canyon vistas. This is the type of shot where you can decide if you’re shooting the whole way through the scene, or if it’s just an intro shot.
Setup 3:
Moving away from the car, you move into the planned Cowboy on Clark— but realize your blocking has allowed for a full family shot. You realize this also completes the MED 2 Shot of the Parents, so you can gleefully combine those shots and leave more time for others.
Setup 4:
Daylight is burning, which means your younger talent may be running out of time to be on set. Best to shoot them out and send them home.
Setup 5:
Having sent the children home, you can now focus on your main actors. Since Clark is your lead, you may opt to give him more screen time and shoot his scenes first.
Setup 6:
Declare ‘martini shot’ and watch your crew start picking up the pace a bit at the prospect of going home on time. Well done.
In Summary
Time spent organizing your shot list ahead of the shoot day means you will have a smoother, more pleasant shoot because everyone is using the same road map to arrive at the destination. With six setups, Ramis had everything he needed to cut together a complete scene. By creating a shot list, you’ll be able to do the same.
--
Note From Tongal: "The Shot List: A Director’s Road Map for the Film Journey" is part of a series of Tongal Community-written blog posts that were originally sourced in the Tongal Blog Open Call Project. The views and opinions expressed in this article are those of the author(s) and do not necessarily reflect the official policy or position of Tongal. Read more Tongal Community-written posts here and then Pitch us a topic you'd like to write about for the Tongal Blog!