

Note From Tongal: “Tech & Specs: Tongal’s 2018 Video of the Year Nominees” is part of a series of Tongal Community-written blog posts that were originally sourced in the Tell Us About It Tongal Blog Project. Read more Tongal Community-written posts here and stay tuned for more opportunities to Pitch a topic and write for the Tongal Blog!
----
As filmmakers, when asked about the process of making our work, we often tend to talk about the creative aspects of the project; how the idea originally struck us, or how the vision came together, or what was the underlying message with that specific shade of blue. All of that IS VERY important and plays a huge role in the final product, but we rarely offer a glimpse of what went into the physical production of the process and how it was created from a technical standpoint. As a film gear nerd, I love digging into the specs and technical aspects of the equipment used to create content in the industry.
So I decided to embark on a mission to discover what gear some of the top producers in the industry are using to create their work. And what better place to start than Tongal’s ‘Video of the Year’ Nominees! Have you seen one of these beautiful videos and wondered what camera they used, what lens it was shot with, or how they achieved a certain look? I sure had!
New to Tongal? Learn How Tongal Works
and check out our Open Projects to get involved!
I spoke with nearly all of the nominees about this topic - with the exception of Confetti Lab who was too busy working on their next project, but you can read about the Similac ‘Strength’ video here - and I learned a lot! Check out the list below to see what equipment some of the top Tongal creatives are using, as well as some tips and insight as to how they used it!
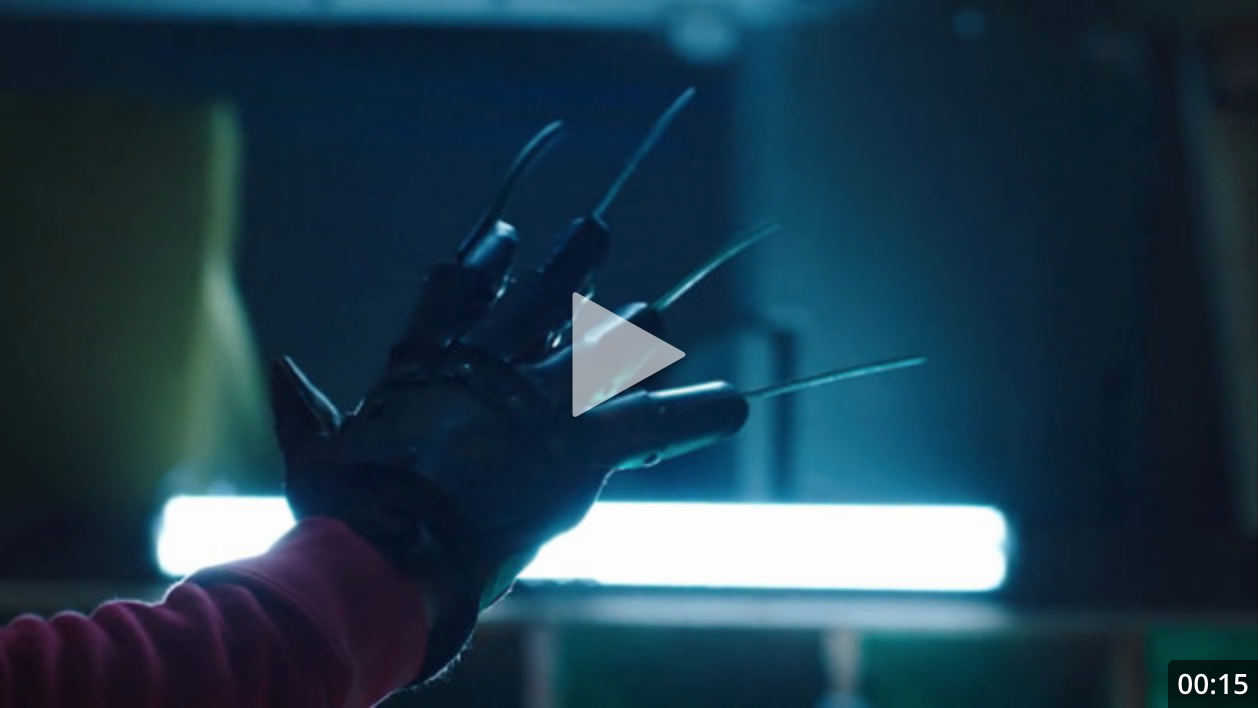
David Brashear: Midnight Snack
Camera: ARRI Alexa
Lenses: Cooke S4s
Lighting: Quasars, a SkyPanel, and a 1K
Movement: Dana Dolly Slider
Editing: Adobe Premiere
Color: DaVinci Resolve
Tips for producing with this equipment: We were paying homage to a quintessential 80s film franchise, so I wanted to emulate the Nightmare On Elm Street films as closely as possible! And for the lighting, we kept it pretty minimal: Quasars for some nice backlighting and the SkyPanel to add that pop of color you associate with 80s films (and made famous again by Stranger Things).
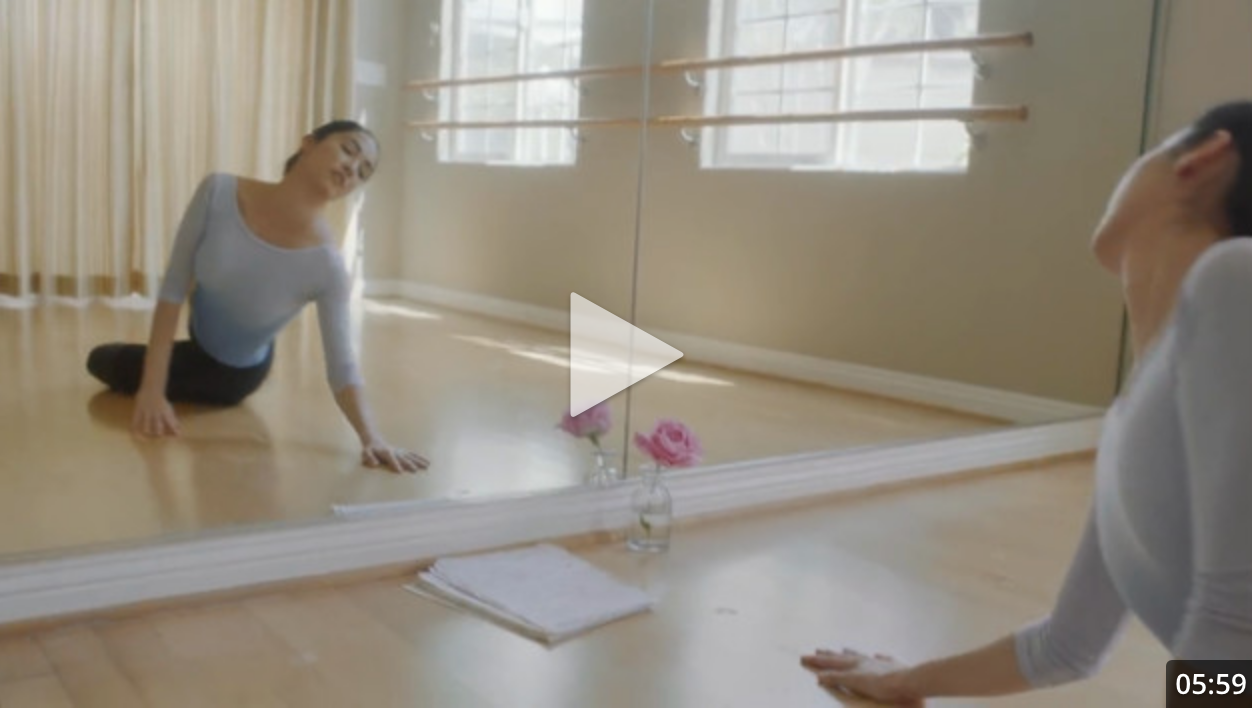
Tiffany Frances: Movement
Camera: ARRI Alexa Mini
Lenses: We used a Cooke S4/i set ranging from an 18mm to 75mm with Tiffen ND / Pearlescent Filters. We also rented a Leica Macro Lens - for a few shots of the dance notes and a close-up on Victor Hung, who played the father.
Movement: We used grips with an Easyrig for handheld scenes, along with a Ronin gimbal for the last 2 dance sequences.
Editing: Adobe Premiere
Color Correction: Daniel Silverman graded using FilmLight Baselight.
VFX: Noah Poole did VFX on Flame.
Tips for producing with this equipment: An ARRI Wireless Focus Control was incredibly useful for the dance sequences, so the 1st AC did not have to be running around with the camera operator, and instead could pull focus more effectively. I believe we also used a Teradek Bolt Transmitter for wireless monitoring. Honestly, a smart crew working with DP Jeremy Lundborg really made the difference for this film. Jeremy prepped his crew really well in anticipation of what sequences we were shooting next - there was a lot of changing the camera setup, from tripod to handheld to gimbal.
James Kwan: Moon Rider
Software Used: Mix of digital puppet animation and frame-by-frame animation, done in Flash. The backgrounds were painted in Photoshop, by Konstantin Steshenko and Uriah Voth. Once the characters were animated and the backgrounds are drawn, I move them to AfterEffects to composite. This is where I put it all together and gave it the final look and color. Flash is a great animation tool, but a lot of Flash animation can end up with the same flat look. So I try to use AfterEffects for as much of the process as possible.
Audio Equipment: Bryce Barsten, the sound designer used Logic for the whole thing, recording, some music, sound design elements, even recorded Foley.
Tips for producing with this equipment: I can break down the character shading I do in AfterEffects a little more. The shading gives the characters a little bit of roundness to the flat Flash characters. It’s done using track mattes and alpha mattes. These mattes give you a ‘cutout’ of the character’s shape. If you move this ‘cutout’ to one side of the character and set it to ‘multiply’ it’ll make that side darker. And if you set it to ‘screen’ it’ll make it lighter.
Kyle Soehngen: Dunbar - Poet Pride Run Club
Camera: Red Dragon
Lenses: We used a set of Kowa Anamorphics. They’re older glass from Japan made in the 1970s, but they’ve been rehoused. They have some pretty pronounced edge distortion, flare easily, breath quite a bit, and have a general softness about them which I like.
Audio: A mix of a shotgun mic mounted to the camera and a boom-op in a chase vehicle. But in NYC, we only had three runners, so we could mic them up individually and also have the boom-op following us.
Movement: All handheld. Though, we did have a bunch of different methods of following our runners. From chase vehicles to pedicabs to bicycles with buckets on the front.
Editing: Adobe Premiere
Color: Kristopher Smale over at MPC
Tips for producing with this equipment: Never underestimate the power of a pedicab!
Bonus: Read more about how this project came together here.
Kevin Ulrich: The Force Awakens - LEGO / Star Wars Recap
Camera: Canon T2I
Lenses: A Standard Canon 18-55 zoom lens was used for the entire thing.
Lighting: An ARRI light kit (two 150s and a 300) and two LED panels. I also used miniature lights from Brickstuff to light up some of the glowing buttons seen in a few shots.
Audio: A Zoom H4N recorder and a Rode NT1-A
Stop Motion & Animation: Dragonframe
Editing: Premiere Pro
Color: After Effects for the visual effects and color correction
Movement: I used a homemade slider in most of the shots.
Tips for producing with this equipment: For this video I decided to avoid green screen as much as possible, knowing that any shortcomings in the compositing would be much more obvious on the big screen. As a result, I put much more effort into building the backgrounds and settings. At one point, the size of the set exceeded the available desk space, so I piled up boxes behind the desk and used them as the surface to continue building out the background.
Brendan Hall: Journey Into Brazil
Camera: Canon C300 Mark II
Lenses: Canon L-series lenses. We brought a 16-35mm f/2.8, 24mm f/1.4, 35mm f/1.4, 50mm f/1.2, 24-105 f/4.0, and 70-200 f/2.8 with us to to the Amazon.
Audio: Sennheiser 416 and G3 lavalier kit
Movement: DJI Ronin (The expedition gave us permission to fly drones during the takeoffs and landings of a C-130 Hercules military plane and Black Hawk helicopter, along with getting to fly across rivers and over the medical operations camp. It was a dream.)
Editing: Adobe Premiere Pro
Color: Davinci Resolve
Tips for producing with this equipment:
I can't stress enough how helpful the Sennheiser 416 was as an onboard mic. By having such a high-quality mic onboard the camera, we were able to record tons of important audio moments and sound-ups that a lot of other pics wouldn't have captured clearly.
It was also crucial to keep a lav mic on Fabiana. Sometimes when you're running around, the weather is hot and humid, and you have a great shotgun mic, it's tempting to go without a lav. But for this piece, moments like a mother receiving her first ultrasound were elevated tremendously by having clear audio of their voices.
One cool story was when I got to fly with the Brazilian Air Force in a Black Hawk military helicopter, along with two doctors, to pick up members of an indigenous tribe deep in the Amazon. I was only able to bring a camera body and a single lens. After sweating it a bit I chose to bring the 16-35mm f/2.8, since it had a decent focal range and could get wider frames of the interior of the helicopter. It ended up being the perfect choice. After landing in the indigenous village, we packed about 25 people into the back of the helicopter. Everybody was squeezed shoulder to shoulder. Since we were all so close together, the 16-35 allowed me to get gorgeous, wide portraits right near people's faces.
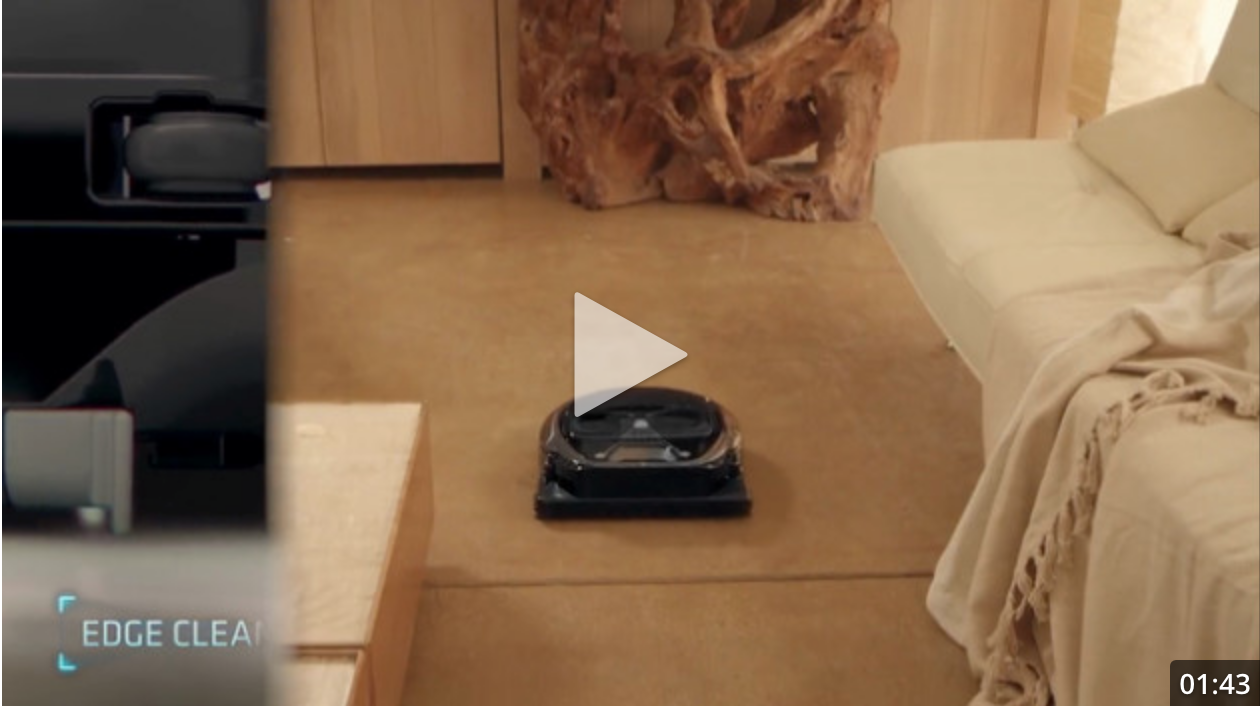
The Indie Machines: Star Wars POWERbots Launch Video
Camera: RED Epic, but used a little Yi Action cam (GoPro rip off I call a "FauxPro") attached to the vacuums themselves for the moving POV shots.
Lenses: Zeiss Zf.2 primes
Lighting: 2-3 Skypanels, 1.2k HMI, 5k LEDs and some Quasar tube lights for the "Death Star kitchen." Also had some cheap red LED strip in the kitchen scene.
Audio: A sound engineer with a 4 channel mixer, lavs for each actor and a boom pole.
Movement: We used a J.L. Fischer Model 11 dolly with model 21 jib arm and Stanton remote control head for all the cool beauty shots of the vacuum moving. In fact, 80% of the spot was shot on the dolly/jib/remote head combo. For the POV shots on the vacuum, we used a little gimbal head designed for the Yi camera called a Zhiyen Rider-M.
Editing: Adobe Premiere
VFX: Our friends over at Ghostlight did the VFX so not sure what they used.
Tips for producing with this equipment: The dolly/jib/remote head combo was a must have for this project.
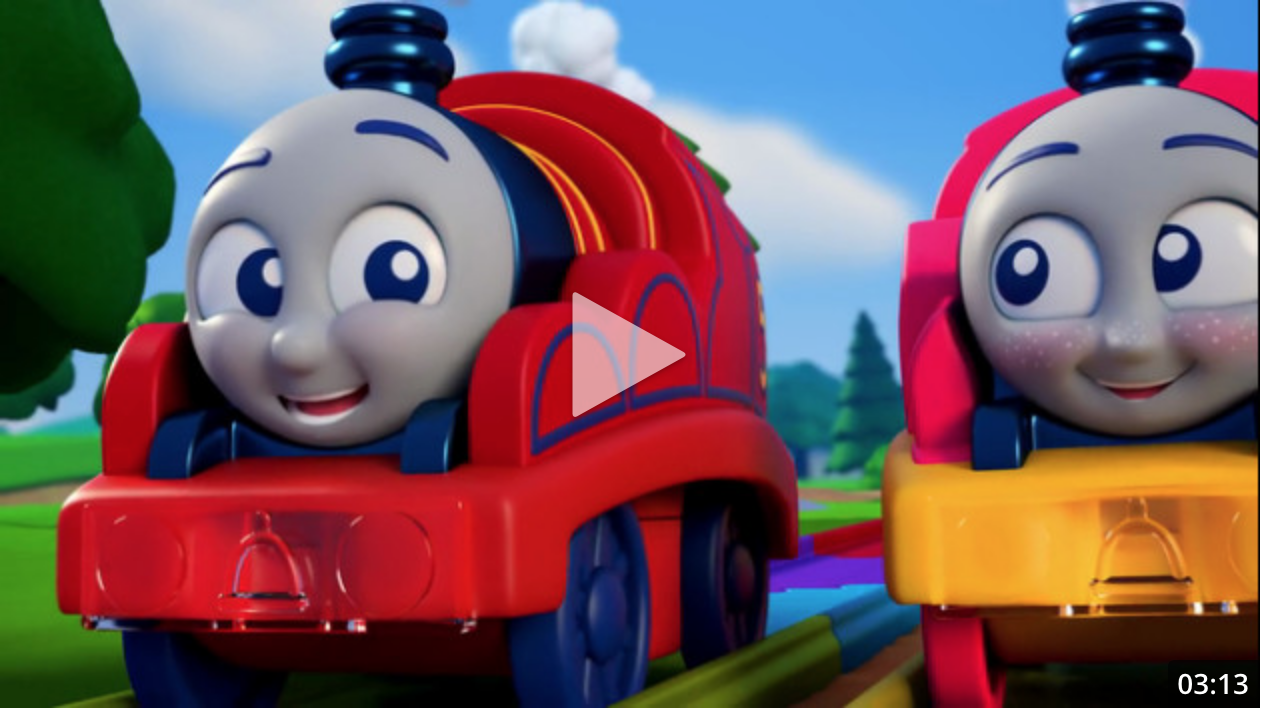
Cc Pixels: Thomas and Friends MyFirst - Colors
Software: Autodesk Maya for our animations
Other Software: We use other software like Zbrush and Substance Painter for detailing our 3D models.
VFX & Color: After the images are rendered, we composite everything in After Effects. Compositing is where we combine the effects, background, and characters together to form one scene.
Audio: We hire professional voice actors for any dialogue we need, and we get our music and sound effects mostly from the music providers available on Tongal.
Tips for producing with this equipment: Rendering has always been a struggle for us since a single frame can take as much as 45 minutes to finish. This changed when we switched to Redshift which is a powerful GPU accelerated renderer so now our render times drastically improved.
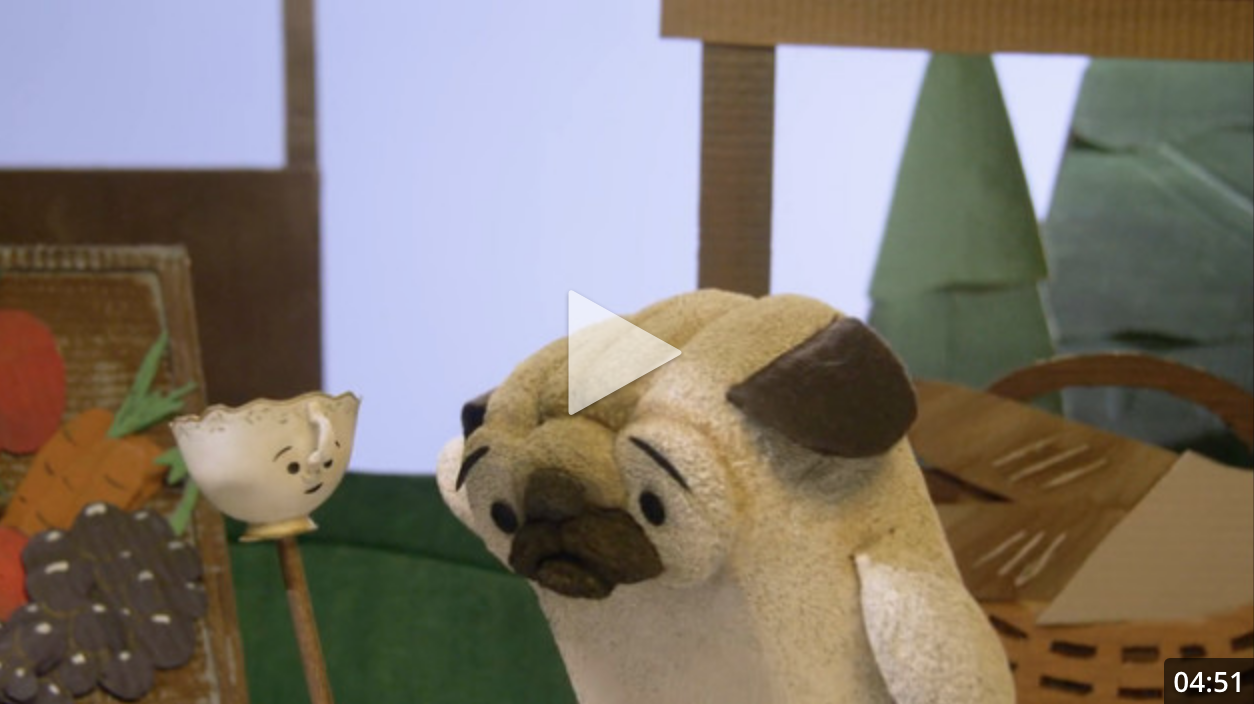
Tucker Barrie: Pug in a Cup
Camera: A Red Epic for the live-action sequences and a Canon 60D for the stop-motion sequences.
Lenses: We used older Nikon lenses with manual aperture controls. They’re great for stop-motion, and we kept the look consistent by using them throughout the entire shoot.
Lighting: We built a grid off of our main set which suspended plenty of grip gear and smaller lights. When working with longer exposures for stop-motion, you don’t need much light to work with.
Audio: Because the on-screen talent consisted of puppets, we didn’t do any on-site audio recording. Instead, there was a good amount of sourcing Foley work and the voice actors actually used all of their own equipment off-site. We brought it all together with Pro Tools.
Movement: We used a motion-control rig for the panning circular stop-motion sequence. This allowed us to shoot a clean plate that lined up to the animated shot perfectly, which we used for general VFX cleanup and puppet rig removal.
Stop Motion & Animation: Dragonframe
Editing: Premiere
Tips for producing with this equipment: There was some stop-motion-specific rigging used, such as jumping rigs consisting of custom steel ball-and-socket joints and barbells. These held up the puppets while they weren’t connected to the set via their feet and were composited out in post. Necessary tools for any respectable puppet production: Wooden dowels, hot glue, cardboard, and cheap acrylic paint. Sometimes back-to-school school craft supplies are just what you need to get the job done well!
Closing Thoughts
There’s no single piece of equipment that holds the key to success and the gear used varied a lot depending on the type of project. I can, however, say that I noticed trends in filming with ARRI, RED, and Canon equipment and Dragonframe for Animation. Using high-end equipment will help you achieve that desired look, but ultimately it’s what you do with that equipment and how you use it that will make a successful production.
As for which piece will ultimately be awarded Tongal’s ‘Video of the Year’ at the Tongies? You’ll have to tune in live on FB on March 21, at 5:30pm PT / 8:30pm ET.


